
I was fortunate enough to participate in a worldwide online stamp retreat recently. I decided to enroll at the last minute and I’m so glad I did! I learned so many new fun folds ANDDDD I gained some new tips that I’m also sharing with you in these future videos and blog posts. The day after the retreat I immediately made this card. I love it and I hope you do as well!


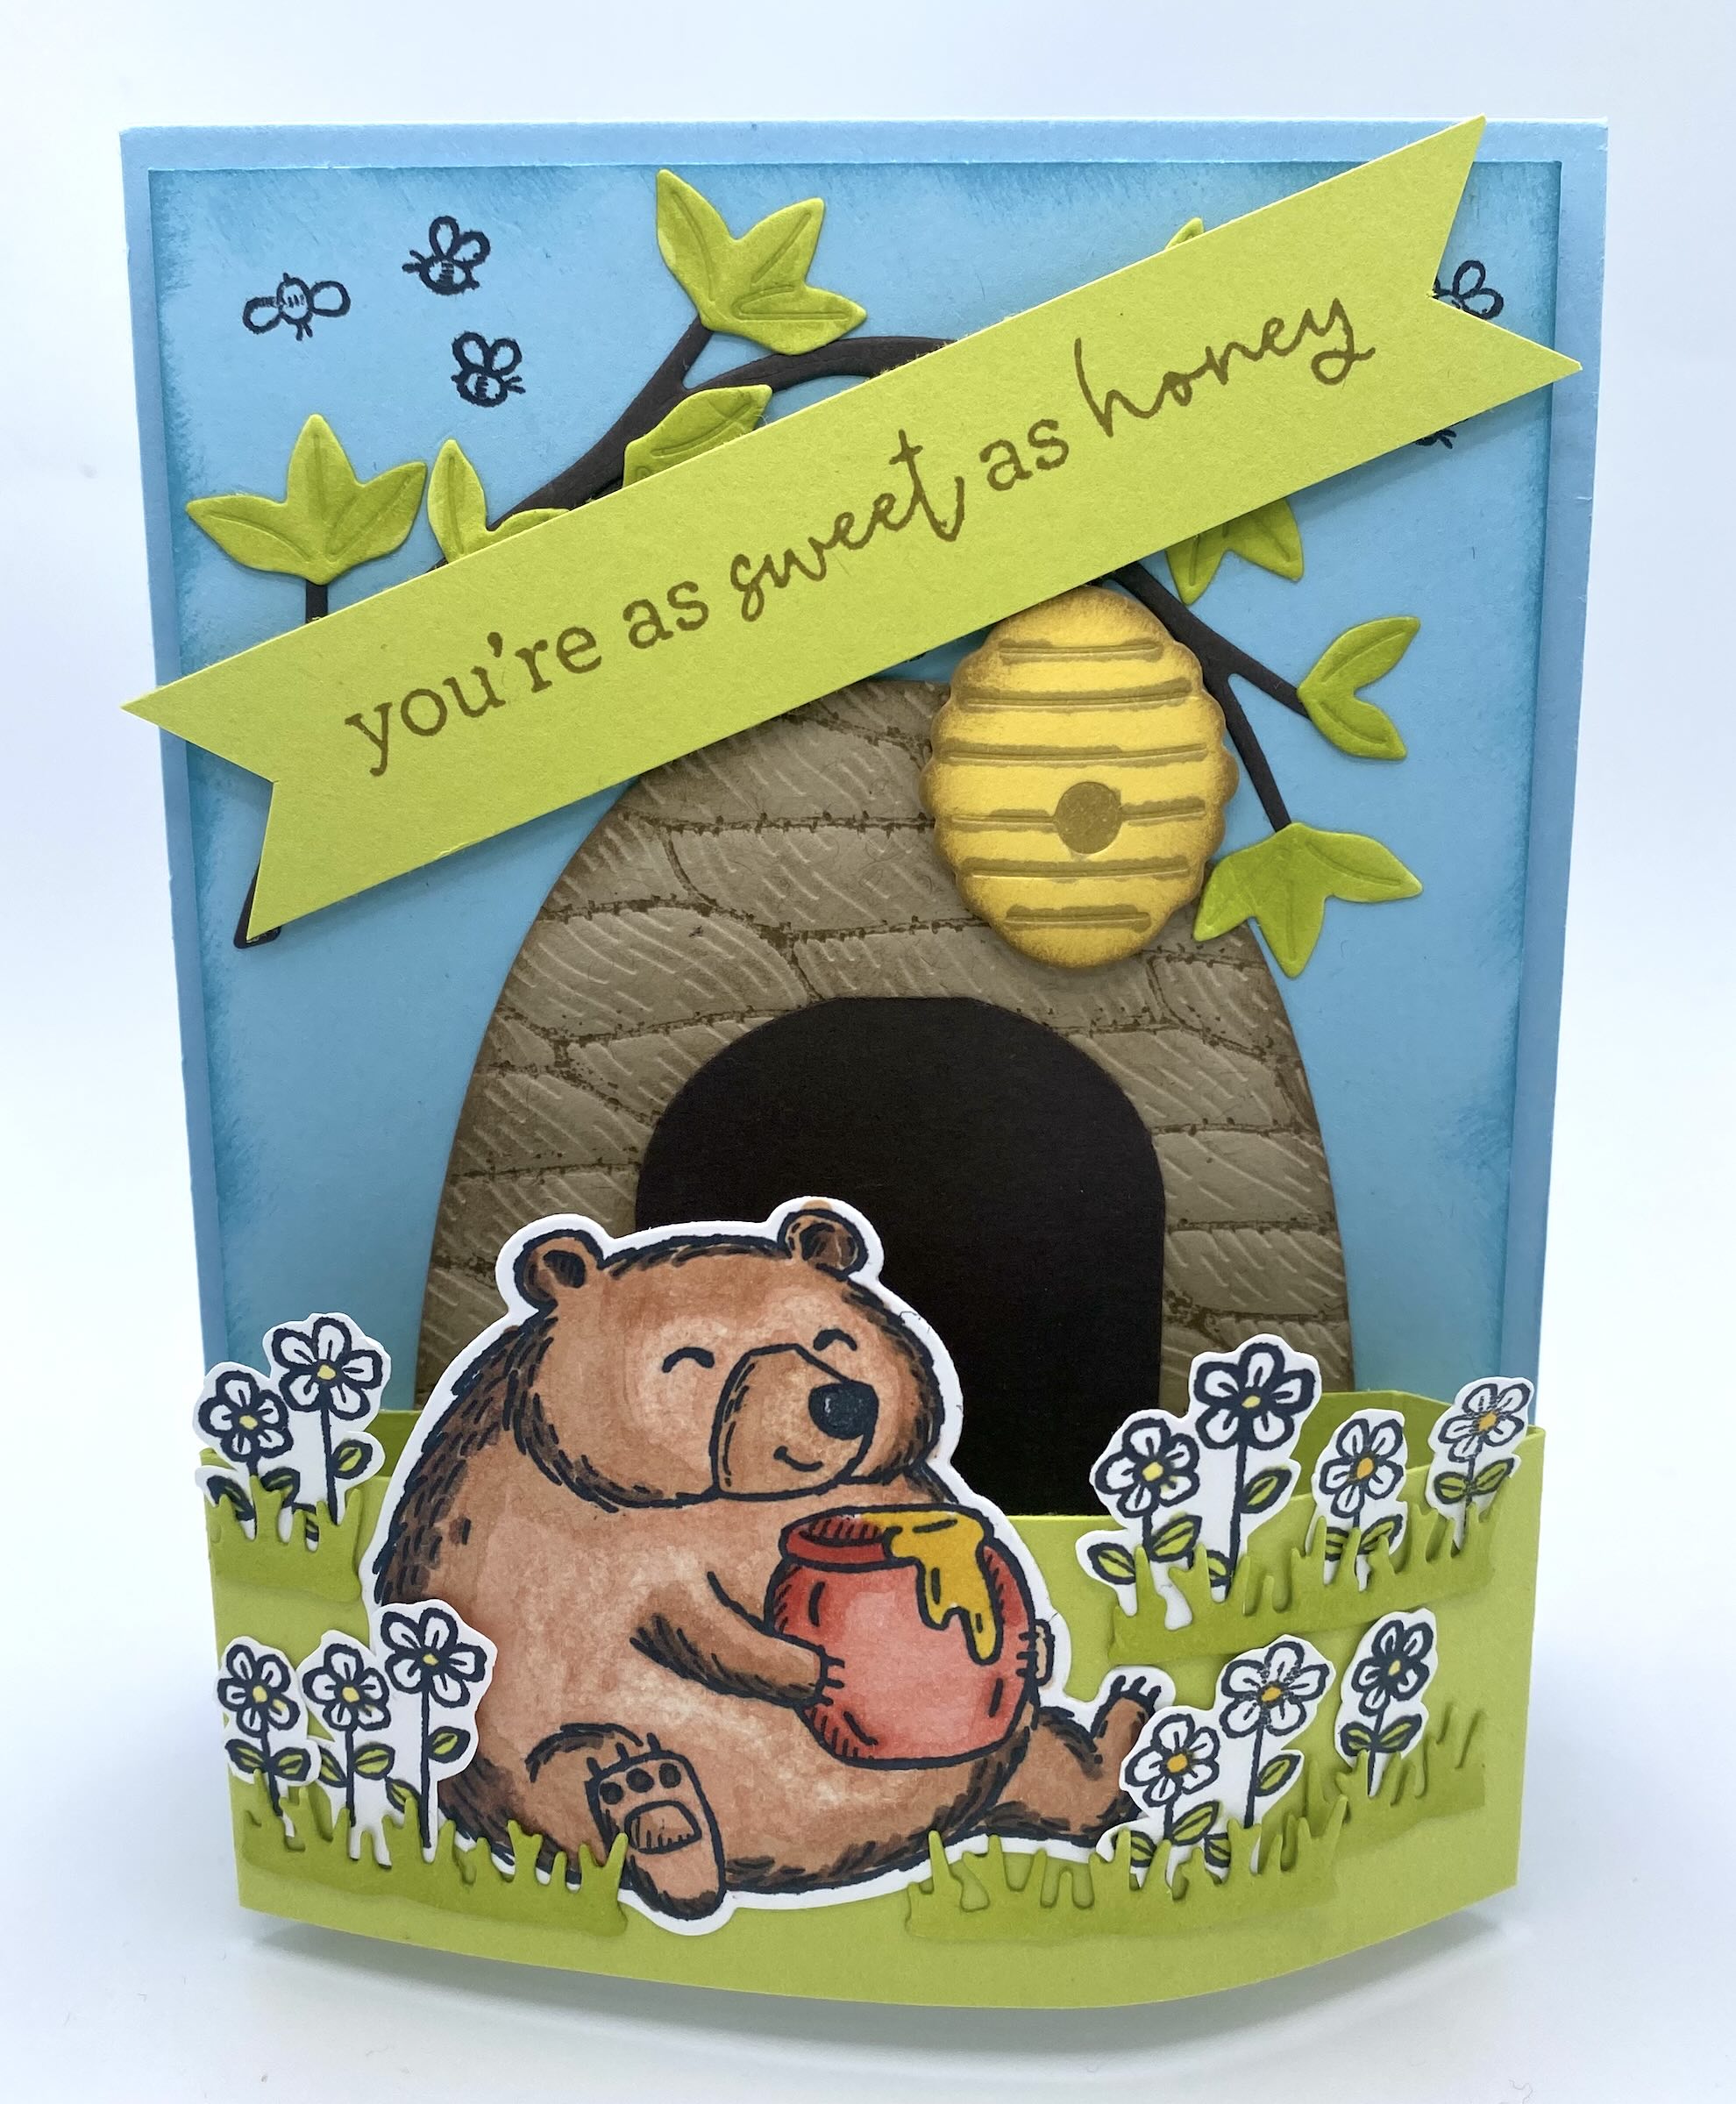
Look how cute this card came out! I see this as a great birthday card or even a baby card! I will definitely be making more. Would you like to learn how to make this? Let’s go!
I used Balmy Blue, Lemon Lime Twist, Early Espresso, Crumb Cake and Basic White cardstock. I used Early Espresso and Memento Ink along with Daffodil Delight, Lemon Lime Twist, Crumb Cake, Pumpkin Pie and various Light/Medium/Dark Stampin’ Blends.
CUTTING/SCORING
BASE (Balmy Blue): 4 1/4″ x 11″, scored at 5 1/2″
LAYER FOR FRONT (Balmy Blue): 4″ x 5 1/4″
LAYER FOR INSIDE (Basic White): 4″ x 5 1/4″
BRIDGE (Lemon Lime Twist): 2″ x 6 1/4″, score 1/2″ and 1″ on each end
**OPTIONAL DSP layer for front: 1 3/4″ x 4″
ASSEMBLY
Cut, score and fold your base. Set aside. Cut your layer for the front. Use a sponge dauber to brush some Balmy Blue ink on the edges of the cardstock to really make it pop against the Balmy Blue base. Die cut/emboss all the pieces you want to use on the front of your card. Color them and then place them on your Balmy Blue top layer. I embossed the bear’s den with the Twisted Rope 3D Embossing Folder which I bartered with Crumb Cake Ink. I used the Modern Oval Punch to create the doorway to the den. I also stamped on some bees that are flying around the honeycomb. Once all that stamping and decorating is done, use dimensionals to attach it to the base. The dimensional strips work great for this partnered with some regular dimensionals.
Cut, score and fold the bridge piece. Add your bear. I stamped and colored the flowers and fussy cut them with my paper snips. I then added the flowers and grass around the bear. Once the bridge is decorated, you can add it to your base. Finish up this card by creating a sentiment tag. Mine was simply created from a strip of cardstock and I snipped the ends to create tails.
The inside of the card was created by stamping on some flowers and adding some cardstock to the bottom to mimic grass. This card is so sweet.
Here are two more samples with totally different looks. This bridge card works for lots of styles and moves.


For this card, I used the new Online Exclusive set called Encircled in Beauty. I really fell in love with this set. It’s elegant and rustic at the same time. One of my favorite things in nature are trees. To create this card, I used Wild Wheat cardstock and some free Designer Series Paper from the recent Sale-A-Bration. I die cut several pieces from Encircled in Beauty and created a gorgeous focal point on the bridge. The inside is simply stamped and colored using Fresh Freesia and Shaded Spruce Bends. The sentiments are stamped in Wild Wheat.


This card is the one I created from the online retreat. I love it so much! The base is Basic Black. I layered Designer Series Paper from the Bee Mine Suite. The bee hive is created with Daffodil Delight cardstock. I cut two identical pieces and cut one of them into strips. I used a sponge dauber to dab on some crumb cake and then glued them onto the other die cut piece. I punched out a circle to add to the front for the opening. I used the coordinating Bee Builder Punch to create the bee and added a wobble to the back to make it wiggle back and forth (check out my craft room must haves for a link). I added a tag to the front and finished it off with some Adhesive Backed Hearts & Flowers. The inside is pretty basic…a strip of DSP, a fussy cut honey pot and some stamping. It’s such a sweet card!!!
I think you’ll enjoy knowing how to create this fun fold as much as I do.
Happy Crafting!