
I’ve been wanting to make some cards with the new Wildly Flowering Designer Series Paper that had just arrived in my recent Stampin’ Up order. I wanted a card that really showed off that pretty paper and I think this Floating Diamond fold did that wonderfully. After I made a card, I realized I could create the same card using the birdhouse from the Country Birdhouse stamps/dies and it would fit perfectly in place of that center diamond. I was so excited I got right to work making the card…and when it was done I knew I had to share it with you! So, here we go.


CUTTING/SCORING:
BASE (Misty Moonlight): 4″ X 8″, score at 2″, 4″ and 6″ (x2)
DIAMONDS (Misty Moonlight): 2 7/8″ x 2 7/8″ (x2) **or make 3 to make the standard Triple Fold
DIAMOND LAYERS (Basic White): 2 3/4″ x 2 3/4″ (x2) ; (DSP) 2 5/8″ x 2 5/8″ (x2) **or do 3 of both layers if making the standard Triple Fold
PANEL PIECES (Basic White): 1 7/8″ x 3 7/8″ (x8); (DSP) 1 3/4″ x 3 3/4″ (x6) **You may wish to use more than one DSP pattern so decide that ahead of time!
ASSEMBLY: Cut and score both base pieces. Once scored, stack the two base pieces together (this way you can cut them both at once) and place the 4″ side at the top of your ruler. Make a small pencil mark at the 2″ mark on both ends of the base. Next, make a cut from your pencil mark down to the score line on each side. Repeat on the opposite end. Now you will have a point on each end.
Fold all your score lines in the same direction and burnish with a bone folder. Lay the two base pieces ended to end so the points touch. Fold the middle points under and butt the straight edges against each other. Tape them down to keep them in place. Flip it over and you’ll see this creates the middle diamond.
Adhere your diamond layers together. Then, Adhere your panel layers together. Now that your diamonds are layered, add adhesive to the points on the base and add your diamond pieces. Add all your DSP layered panels to the base. **Remember the two white pieces will be stamped on before adding to the center back.
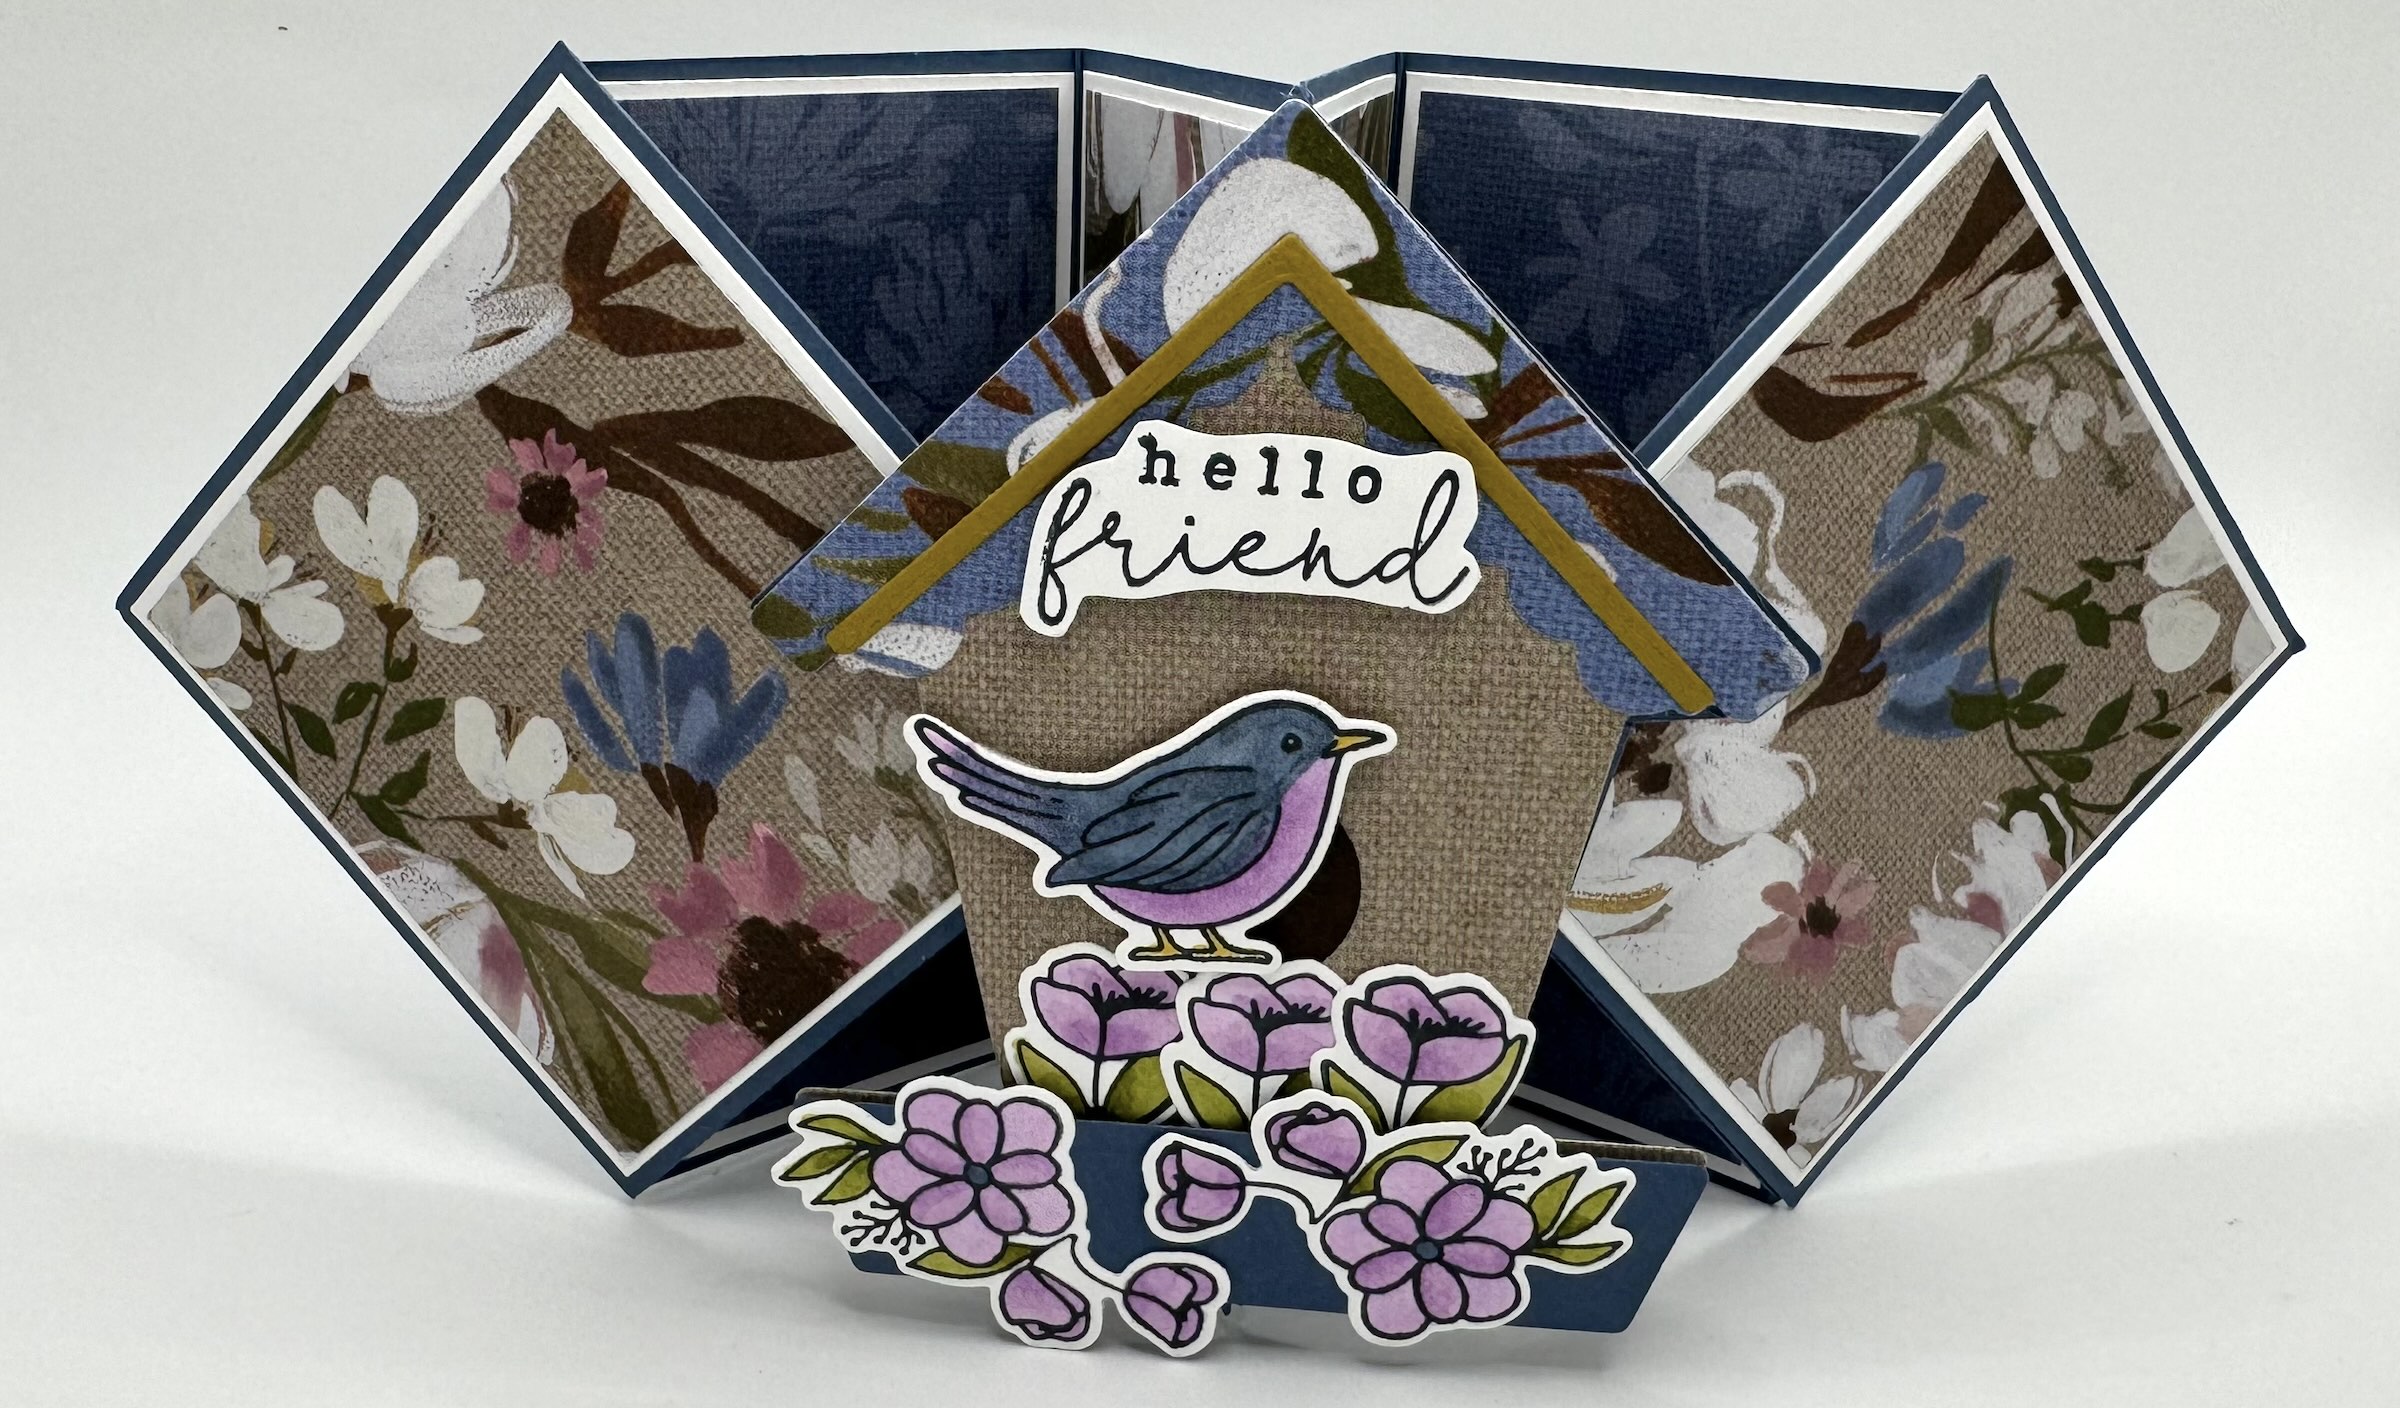
Now it’s time to add our center diamond, or in this case it is a birdhouse. Die cut all your birdhouse pieces and assemble. Then, adhere the birdhouse to the center diamond. Once the glue is secure, you can just cut away the excess diamond parts so they don’t show behind the birdhouse. Cool, huh!
Now it’s time to decorate the back of your card. If you haven’t already done so, add your DSP panels to the back. Stamp your white pieces and add them to the two center panels. Flip your card back over and add your embellishments to finish off your masterpiece!


Here is my other sample with the birdhouse. I used the same DSP, just a different pattern. My base is Berry Burst. So pretty!


And my third sample is a traditional Triple Floating Diamond with 3 diamonds. I used the Unbounded Beauty Stamps and coordinating dies. My base is Wild Wheat.
As you can see, this stunning fun fold is simple to create and really shows off the beauty of Stampin’ Up’s fabulous Designer Series Paper.
I hope you get the opportunity to try this one out soon! Happy Crafting!