
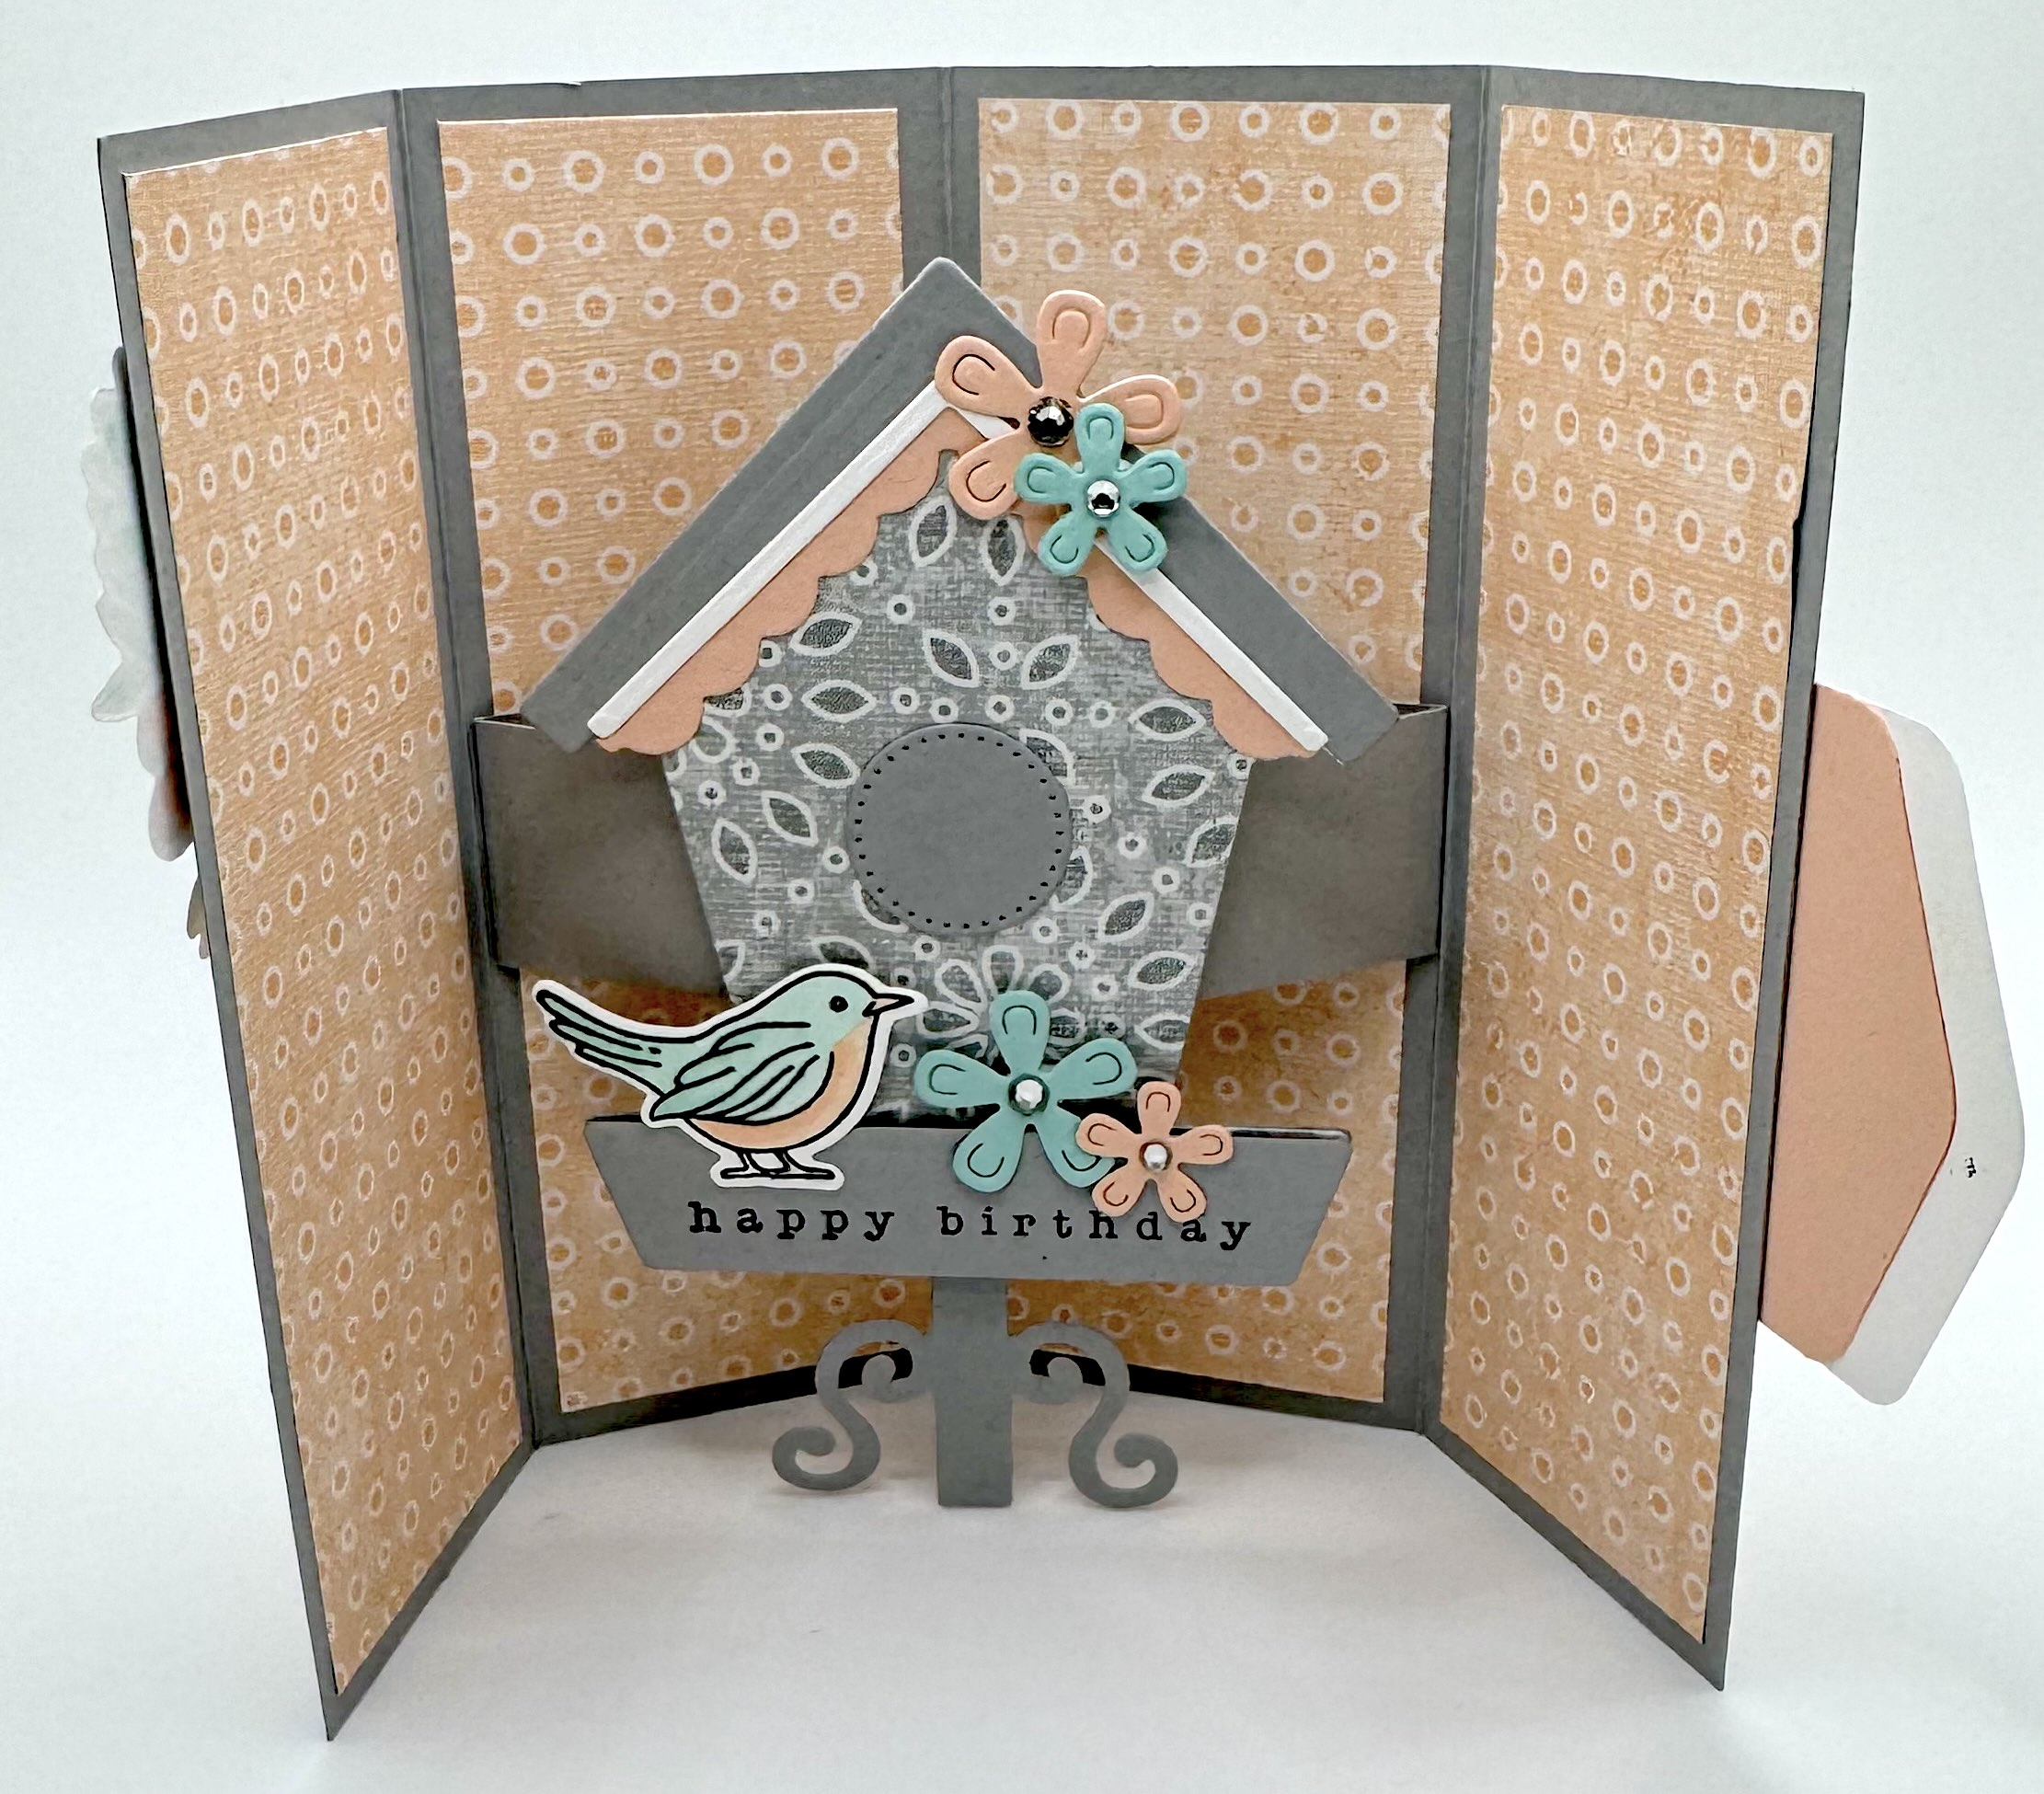
The Country Birdhouse Suite has been wildly popular this season and I’m not surprised. It’s simply beautiful and adapts well to so many card folds and designs. I was playing around with the Pop Out Panel Card and thought it would work well with the birdhouse in the middle. Much like my previous Triple Floating Diamond video, the birdhouse fits! You can make the panel any size or shape you want…just make sure it fits with the card folds so it folds flat!


To create this card I used Smoky Slate for the base and paired it with two different patterns of Petal Pink paper from the Country Lace 12×12 DSP. I colored and die cut using Petal Pink and Pool Party Stampin’ Blends and cardstock. I die cut the birdhouse base in Smoky Slate and the rest f the pieces, Petal Pink and Basic White and also in another pattern of DSP in the same pack. I added diamond embellishments to finish it off. Here’s all you need to know to construct this fun fold.
CUTTING/SCORING:
BASE (Smoky Slate): 8″ x 5 1/2″, scored at 2″, 4″ and 6″
PANELS (various DSP): 1 3/4″ x 5 1/4″ (x6—2 outside front, 4 inside)
BACK MIDDLE PANELS(Basic White): 1 3/4″ x 5 1/4″
MECHANISM (Smoky Slate): 5″x1″, scored at 1/2″ on both ends
OTHER: Middle panel can be any size or shape as long as it fits when the card is closed.
**Optional Belly Band: 3/4″ to 1″ by about 9 1/2″; whatever size works best for your decorations
ASSEMBLY: Cut, score and fold your base and mechanism piece. Cut all your panel pieces. Stamp and decorate your white panels. Adhere all the panel pieces to your card base. Adhere your mechanism to the middle of the card making sure the card closes properly…adjust your scoring if necessary to make it fit.
Color/die cut all your birdhouse pieces, birds, flowers, and the stand for the birdhouse. Assemble all the pieces. Adhere them to the center of the mechanism. **Only add adhesive to the center inch or so. This ensures the pop out will pop out nicely when the card is displayed.
To create the buckle on the front, stamp the large bunch of flowers from the Country Flowers stamp set, color it in with Stampin’ Blends and die cut it. Punch out a Basic White and Petal Pink shape with the Hexagon Punch. Add a message to the white hexagon. Glue the two layers together in an offset pattern. Place adhesive on only one half of the hexagon and adhere it to the front of the card flap. Decide where your flowers should be placed so that a portion will overlap the hexagon. Add adhesive only to the portion that will stick to the card, making sure the hexagon can slip under a small portion of the flowers freely to act as a buckle to close the card. **You can also just add some dimensionals under the flowers instead. Or you can just create a belly band. Add some embellishments to finish the card.
Here are a few more samples!


I used the Unbounded Beauty DSP as my inspiration for this staple. I paired it with Summer Splash and Petunia Pop cardstock. I created the middle panel by using the Enduring Beauty decorative masks to color it in the same colors that show in the DSP. I die cut them and then added dimensionals before adding them to the center of the panel. I made a belly band to close this one. The sentiments come from the Unbounded Beauty stamps and dies.


This sample was so much fun to make. The base of the card is Real Red. I paired it with Balmy Blue cardstock that I stamped on in Balmy Blue ink to create my own DSP. I stamped the cardstock before cutting the panels so it created a scene when placed side by side. To create the porthole in the middle panel, I used the 2 largest circles in the Stylish Shapes dies and cut out a metallic silver circle. I punched tiny holes around the perimeter to make it look more like a real porthole. **If I made a thicker circle, I’d use silver metallic embellishments instead!! I also cut out a clear window sheet and Basic White cardstock using the largest circle die. I lightly brushed some Balmy Blue on the white circle and then stamped my images. I added 3 diamond embellishments over the bubbles for extra fun. I used glue dots to attach the window sheet to the silver circle and then used dimensionals to attach the white circle to the window sheet to create the porthole window. Isn’t that fun!
The back of the card was also brushed with Balmy Blue and stamped. I created the belly band by layering on some sea grass that I stamped and fussy cut, a submarine and a little crab. And don’t forget your greeting! I stamped and fussy cut that as well and just glued it right on the front at an angle. I think this might be my favorite card!!
Which one is your favorite? I think I’ll be making several more of these cuties!
Thanks for stopping by ! I hope you get some time to craft today!!