
You’re going to love this one. It’s a simple fun fold and when you pair it with the cheerful colors and use the Filled with Fun Bundle it’s a vey special card. To whom would you send this one? I know this will be a popular fun fold for me when creating cards for the humans I love.

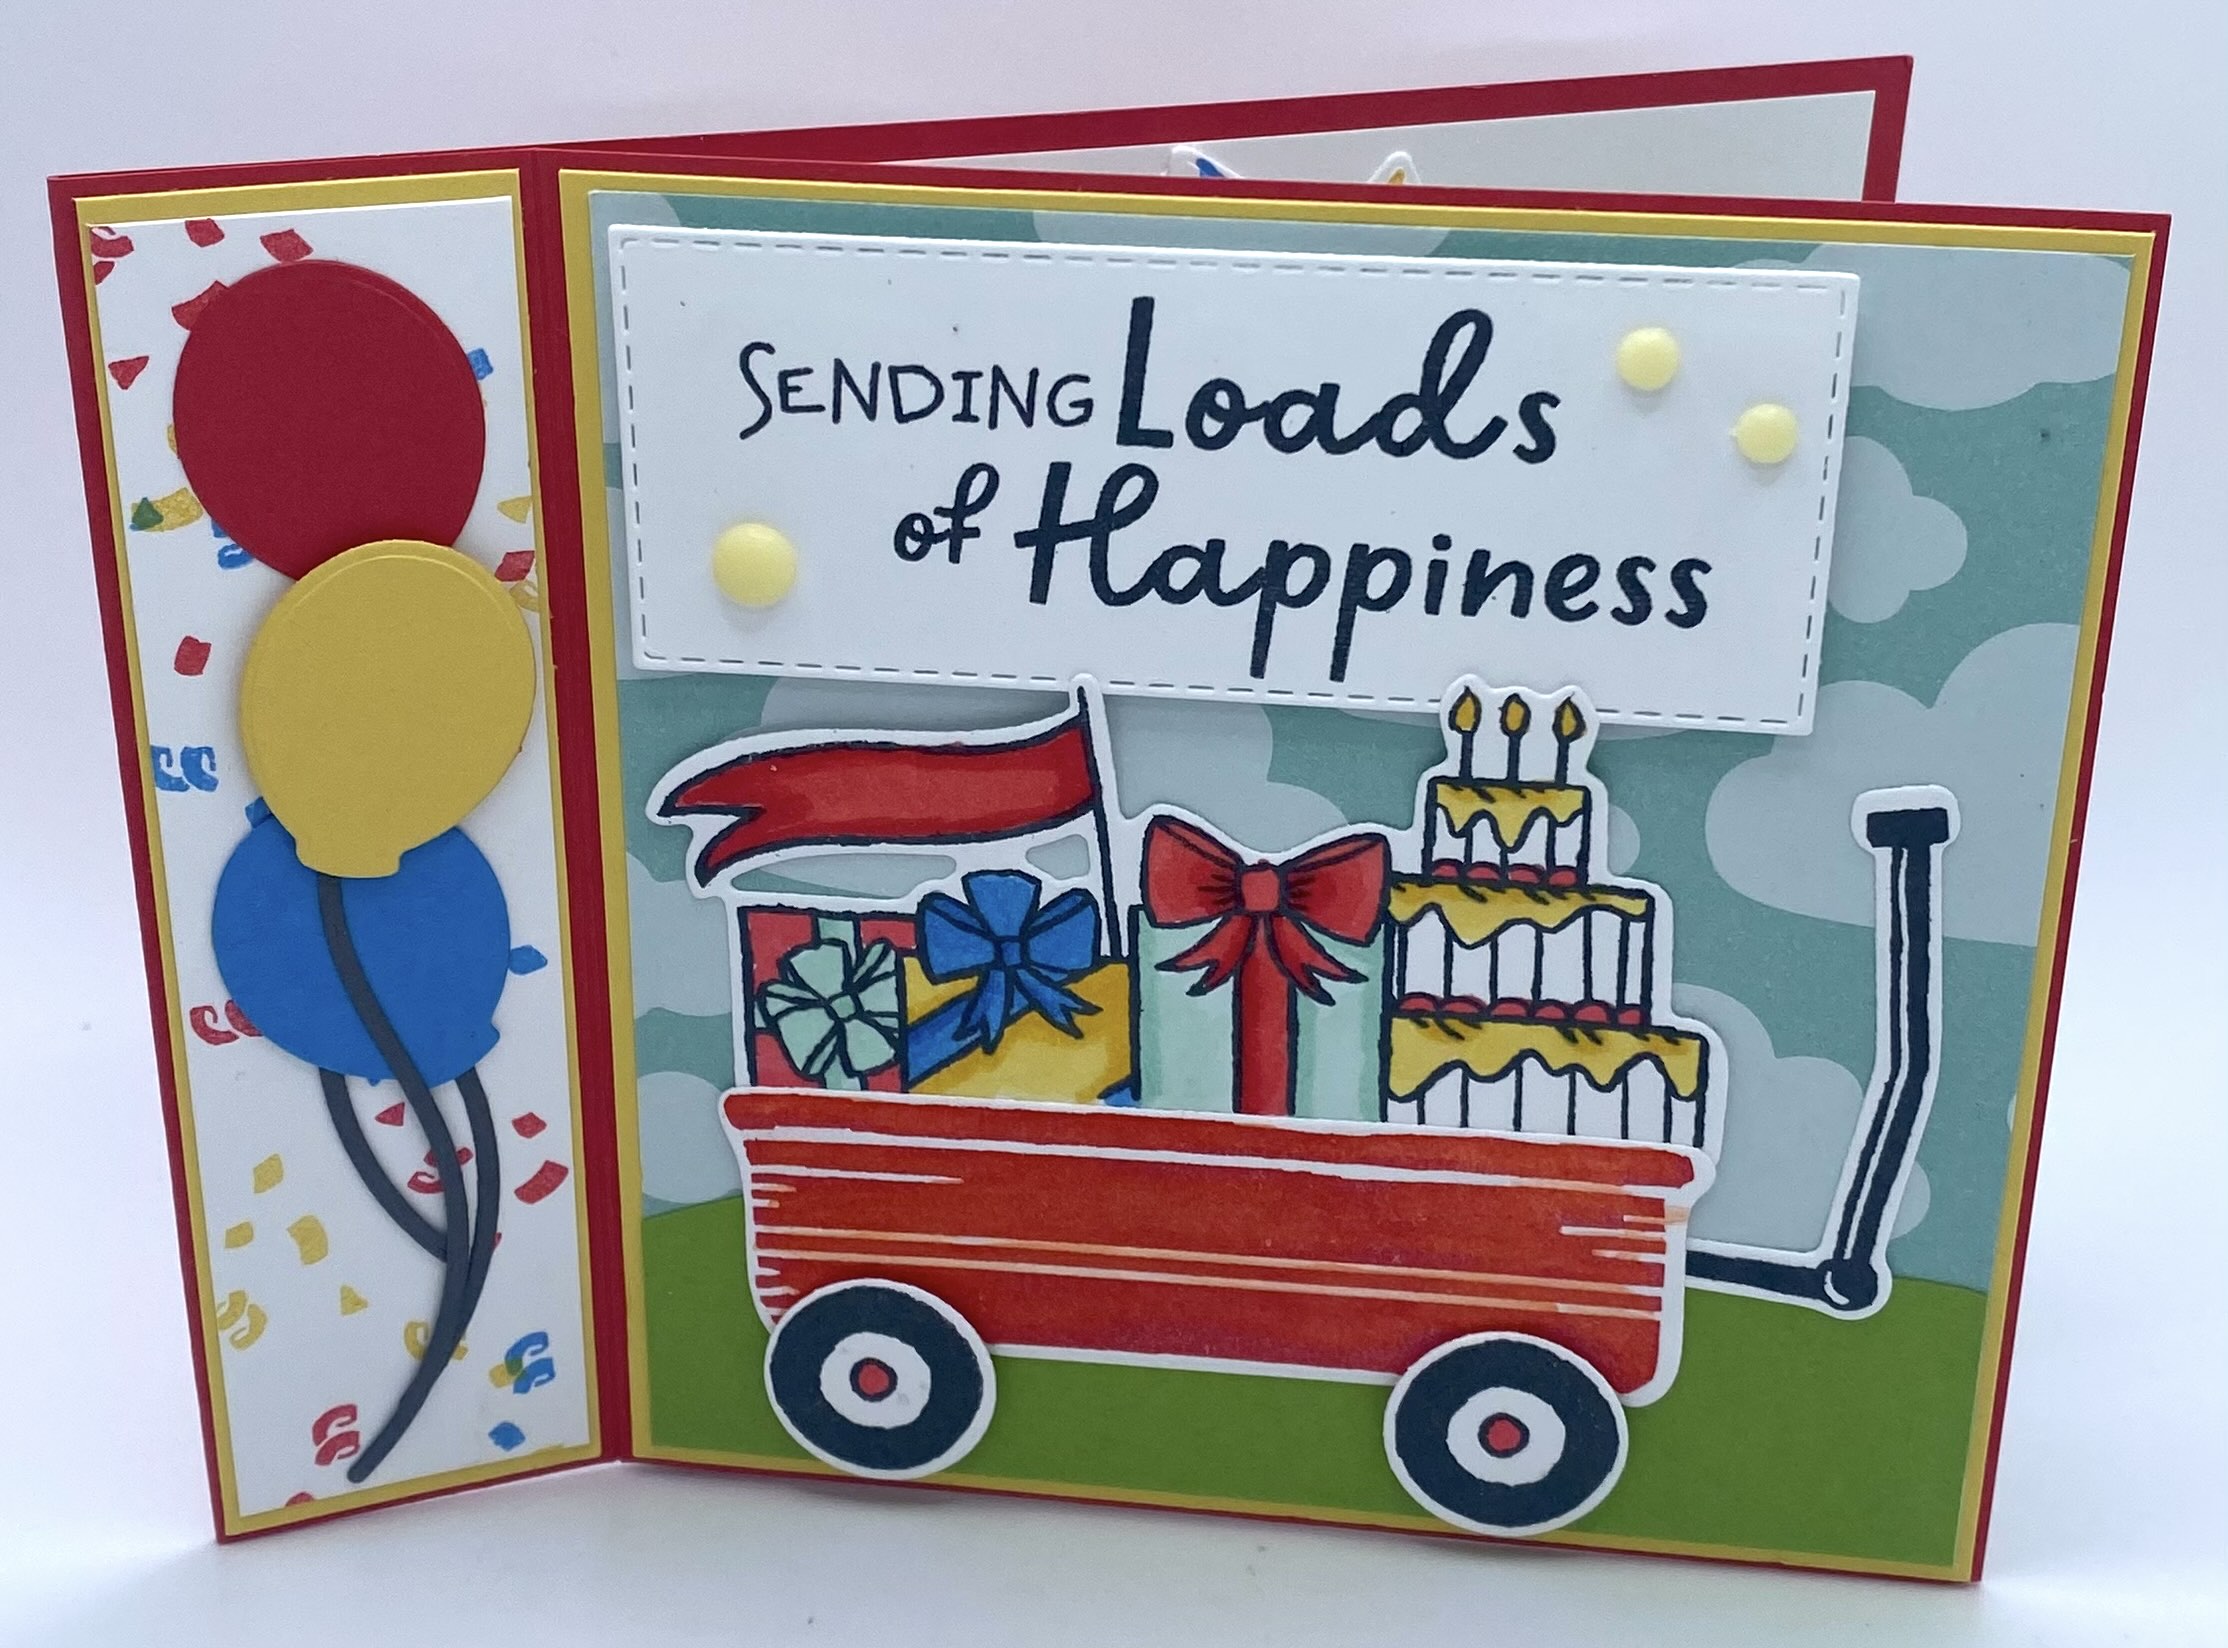
I love how this card design came out. The bright colors really pop and the adorable stamps just make it extra special. I love a fun card that works for kids and kids at heart. This one does JUST THAT. I used Poppy Parade and Daffodil Delight card stock for the base. I also paired up lots of colors….Azure Afternoon, Poppy Parade, Daffodil Delight, Balmy Blue and of course, Tuxedo Black Memento Ink. Here’s everything you need to know to create this card.
CUTTING/SCORING:
BASE (Poppy Parade): 11″ x 4 1/4″, scored at 4 1/4″ and 5 1/2″
CORNER FOLD INSERT (Basic White): 8″ x 8″ , scored at 4″, rotate and score again at 4″, then score from point to point on one side (*see template below)

FRONT LAYERS (Daffodil Delight): 4 1/8″ x 4 1/8″; 1 1/8″ x 4 1/8″; (DSP): 4″ x 4″; (BASIC WHITE) 1″ x 4″
OPTIONAL INSIDE LAYERS OVER POP OUT PANELS: Cardstock 3 7/8″ x 3 7/8″; Basic White 3 3/4″ x 3 3/4″; also, 3 3/4″ x 3 3/4″ cut on the diagonal to create 2 triangles
OTHER: Scrap of Granny Apple Green for the “grass”; scraps of Poppy Parade, Azure Afternoon, Basic Gray and Daffodil Delight for the balloons.
ASSEMBLY: Cut and score all your pieces. Fold your base and glue down the slim section created from your score lines to create the folded card base. Next, decorate your corner Pop Up piece, taking care to make sure you’re stamping everything in the correct direction. Adhere the back panel to the card base; fold in the pop up and then fold down the front panel; add glue to the front panel and close the card base down on it. Now you are ready to decorate the front. Stamp and color all your pieces before glueing them onto the card base. Then, arrange everything for fit. Once you know where everything will go, adhere them down with glue and dimensionals. Add your embellishments and you’re finished with your adorable masterpiece!
Here are a few other samples.


As you can see, this card has a completely different vibe. It’s a sympathy card so it’s more subtle. I used Blackberry Bliss and Fresh Freesia cardstock and paired it with the Thoughtful Journey 6×6 DSP. I love that paper so much! I used the Thoughtful Wishes stamps on the the front and inside, along with a message from the Hope You Know set. I embellished the card with some Night of Navy ribbon and some gems. As you can see on the inside of this card, I used the optional inside layers. They added an extra bit of color to the inside.


On this last sample, I used the Friends for Life Bundle to create this fun card front. There’s a die that creates those fun strips…I cut one each in Balmy Blue, Granny Apple Green, Lemon Lime Twist, Crushed Curry and Calypso Coral. **I did copy this front panel layout from a card I saw when perusing Pinterest….it was just too cute! I used the dies to create “friend” in black/white as well as the funky heart. I stamped LOVE YOU on white and just snipped the edges to create a tag and popped it on with some dimensionals. The side panel is just some hearts stamped in black and I embellished the front with diamond embellishments. The inside of the card is super simple…just some stamping in black on Calypso Coral and I added the Granny Apple Green cardstock on the bottom. There’s a ton of space to write, which I like!!
I hope you enjoyed the video and plan to make this Corner Pop Up Card soon!!
Happy Crafting!