
Have you ever looked at a fun fold and at first thought, “wow, that looks tricky?” I did that exact thing when I first saw this fun fold, but thankfully I quit being a chicken and gave it a shot…it’s actually pretty simple…so YAY!!!


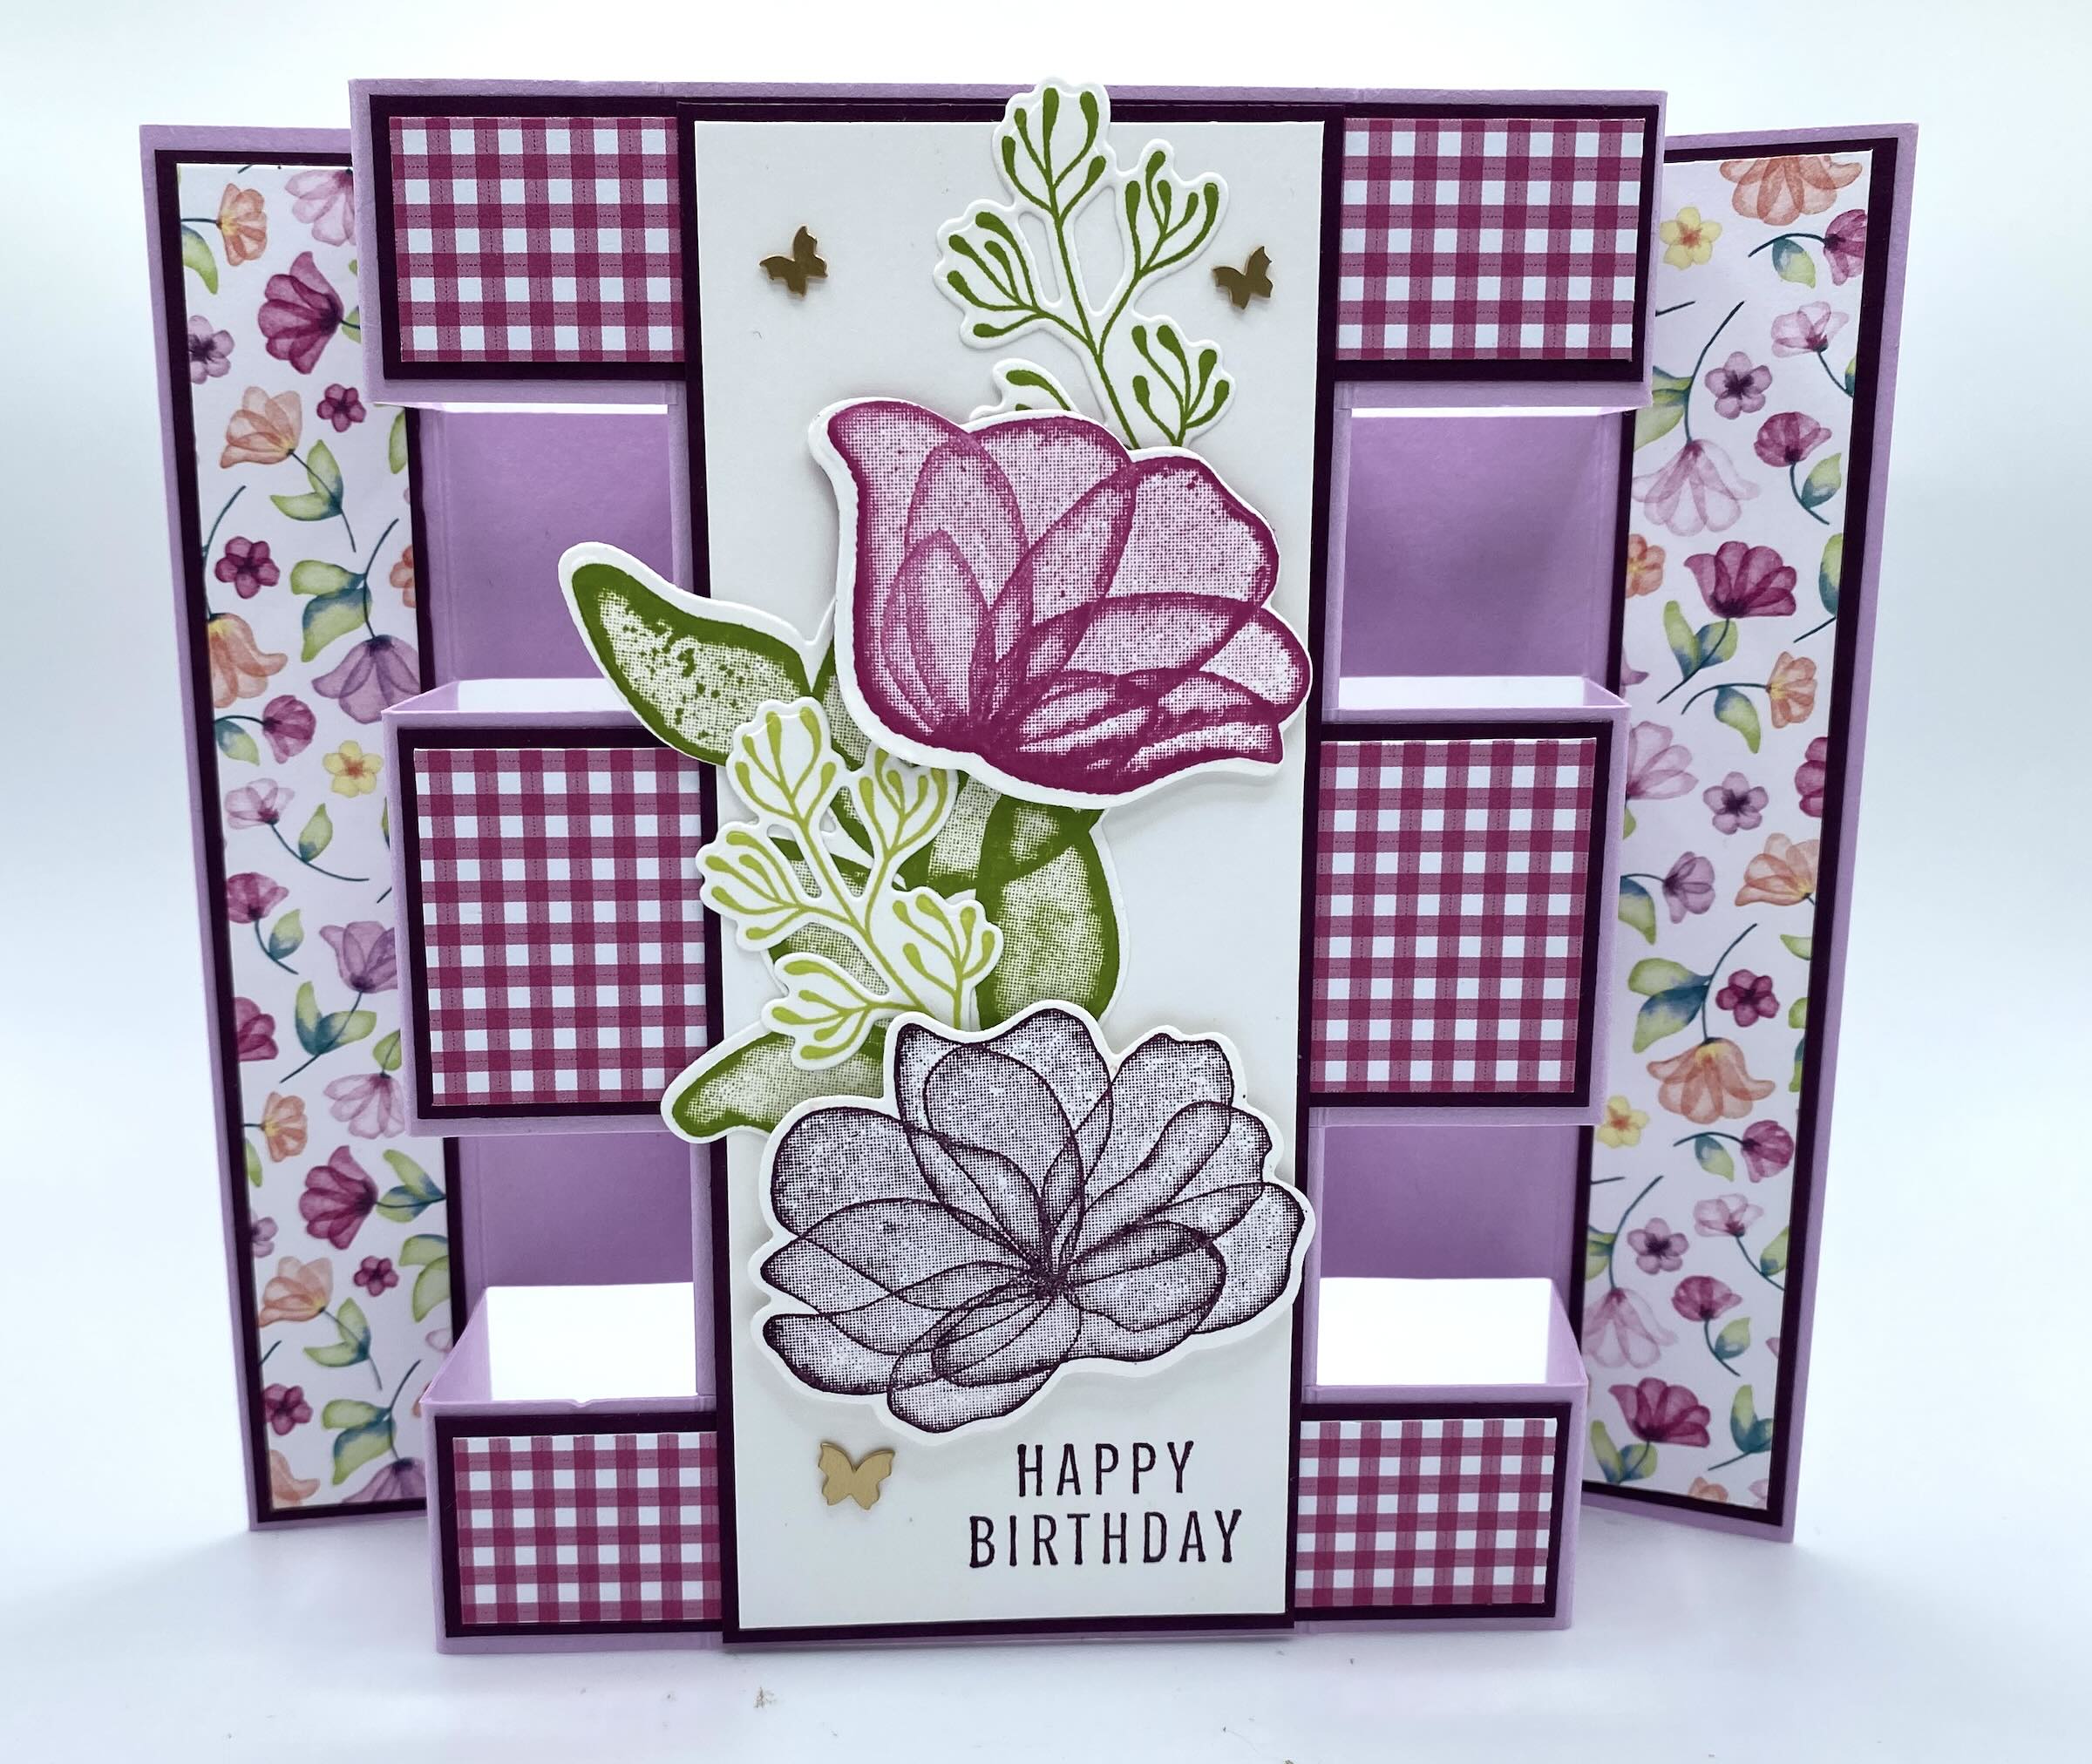
I recently ordered the gorgeous Translucent Florals Suite and just knew I had to use those products to create a card. The base of the card is Fresh Freesia cardstock. I also placed Blackberry Bliss underneath the Design Series Paper to really make all those pretty colors pop. The center Designer Series Paper is from the Glorious Gingham 6×6 DSP pack. The outside edge DSP is the Delightful Floral DSP that comes with the suite (although you can order it alone as well.). I stamped in Blackberry Bliss, Granny Apple Green, Lemon Lime Twist and Berry Burst. The Translucent Florals coordinating dies make your card extra special. I embellished the front of the card with the Brass Butterflies to finish off my card.
Here are all the cutting and scoring measurements and assembly instructions so you can create your own work of art!
Cutting/Scoring:
BASE (Fresh Freesia): cut 5 1/2″ x 8 1/4″; with the 8 1/4″ side at the top of your trimmer, score at 1″, 2″, 3″, 5 1/4″, 6 1/4″, and 7 1/4″; next you want to place your cardstock so the 5 1/2″ side is at the top of the trimmer; then place the paper at the 1″ mark and cut between the 1″ score line and the 3″ score line; repeat this at the 2″ mark, the 3 1/2″ mark and the 4 1/2″ mark; rotate the cardstock to the opposite end and repeat so you have the same cuts on each side.
CARDSTOCK LAYER (Blackberry Bliss): cut 5 3/8″ x 7/8″ (x4); 4 1/8″ x 1 3/8″ (x1); 4 1/8″ x 7/8″ (x2)
DSP LAYER (Delightful Florals DSP): 5 1/4″ x 3/4″ (x4)
DSP LAYER (Glorious Gingham DSP): 4″ x 1 1/4″ (x1); 4″ x 3/4″ (x2)
FRONT AND BACK LAYER (Blackberry Bliss): 5 3/8″ x 2 1/8″ (x2)
FRONT AND BACK (Basic White): 5 1/4″ x 2″ (x2)
ASSEMBLY: For the card base, fold the 2 ends and crease with your bone folder; then fold the outer and middle cut pieces as mountain folds and the other two sections and valley folds; repeat on other side of card. Refer to the photos above!
Adhere your DSP to the coordinating Blackberry Bliss cardstock. Then adhere all the layered pieces to their coordinating positions on the card base.
Next, it’s time to decorate your white cardstock pieces for the front and back of the card. I used stamps and dies to create the front panel. Dimensionals gave the flowers some extra pizzazz! On the back, I simply stamped the images and left plenty of black space to write my message.
Adhere your white cardstock to the Blackberry Bliss and then adhere those to the front and back of your card.
All that’s left are embellishments. I used the Brass Butterflies…they look so pretty with the flowers. Ribbon would be really pretty as well…you can’t go wrong with any embellishments on this card.
Not too difficult, right? And don’t forget to add some pretty DSP or stamping to the envelope to make this an extra special card.
Now, check out these other two cards I created!


These cards use the Sweet Citrus Bundle of Products, some DSP from last season’s SaleABration, and some rhinestone embellishments. I used Granny Apple Green and Garden Green Cardstock and ink to pull it all together. **Here’s a little extra tip…if you add some wink of Stella to the citrus pulp, it looks extra juicy and pretty!


This last card showcases the Merry & Bright Suite of products. I used Real Red Cardstock for the base and Granny Apple Green for the layer under the DSP. I stamped the images on the front in Pool Party, Granny Apple Green, Real Red, Flirty Flamingo and Lemon Lime Twist. I stamped in Real Red and Crushed Curry on the back. The star was die cut on Crushed Curry Cardstock and the tree trunk is die cut using one of the ornament dies on Early Espresso Cardstock. I added some Real Red rhinestone embellishments to finish it off.
I hope you get to try this fun fold out and create some great cards for family and friends. It’s super fun to make these and this card is easy to make in batches.
Don’t forget to check out my other videos and blog posts & stop by my online store for all your Stampin’ Up products. I hope you have a fabulous crafternoon!