
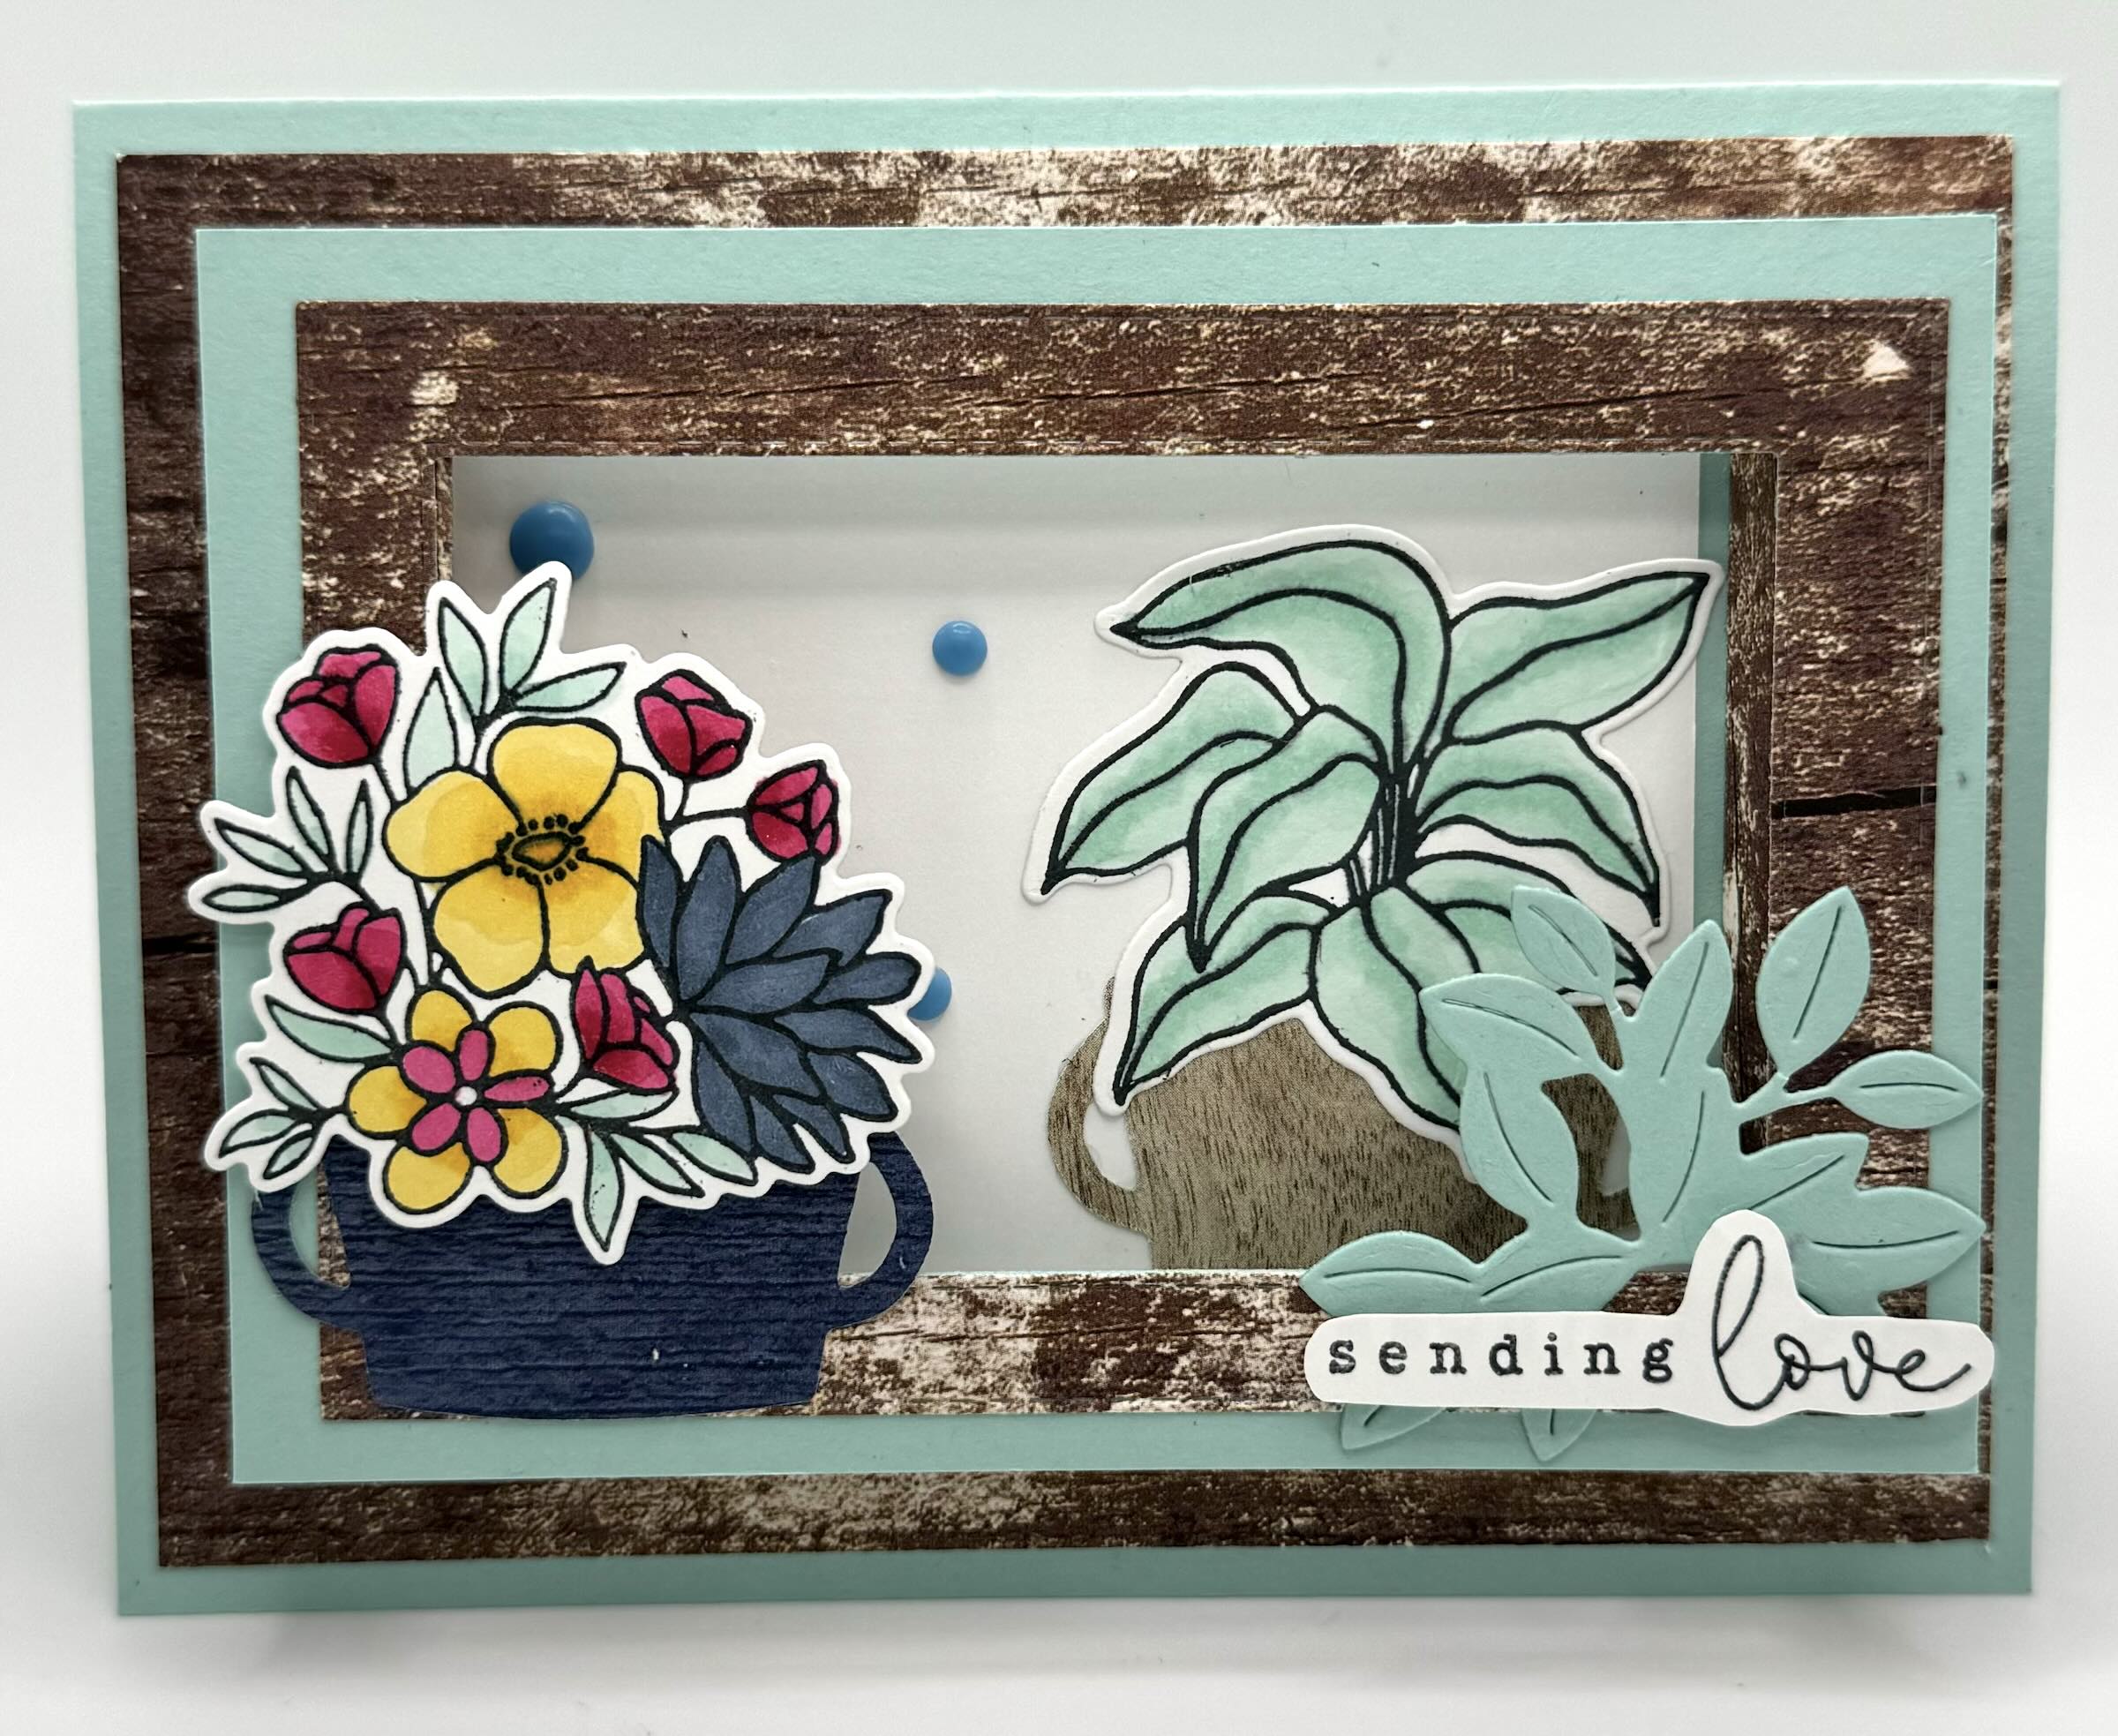
I love a fun fold card that is versatile and sturdy and works with literally any stamp set and color combo you want to create. This double pillar design lets your card front really pop…quite literally! The pillars allow the front frame to lift off the front of the card and it really showcase your card front. However, you could actually omit the frame if you wanted to and change up your cardstock colors or even create your own frame with stamps or textured embossing folders. There are endless options!


I used a base of Pool Party cardstock. It’s definitely one of my favorite cardstock colors. The Designer Series Paper for the frame and the flower pots is from the Country Woods 12×12 DSP pack. This paper is great because you can use it by itself with dies and even stamp on the lighter shades. I’m on my 2nd pack of paper, I love it so much! To color the flowers, I used Stampin’ Blends in Melon Mambo, Pool Party, Misty Moonlight and Daffodil Delight. Stampin’ Blends really make coloring fun and so professional looking. Here’s how to create this card.
CUTTING/SCORING
BASE (Pool Party): 5 1/2″ x 8 1/2″, scored at 4 1/4″; 4 3/4″ x 3 3/8″, die cut with the 5th largest Stitched Rectangle Die
DSP (Country Woods): 4″ x 5 1/4″, die cut with 3rd and 5th largest Stitched Rectangle Die
PILLARS (Country Woods): 1 7/8″ x 6″, scored at 3/8″, 3/4″, 1 1/8″, 1 1/2″ and then cut at 3″ to create 2 pieces
BASIC WHITE: 3 1/2″ x 2 3/4″ (front window); 4 3/4″ x 3 1/2″ (inside)
ASSEMBLY: Cut and score your card base. Cut your front frame piece and your DSP piece. Center your 3rd and 5th largest Stitched Rectangle die over the DSP evenly, tape down and run through your die cutter. This will give you two frame pieces. Then, do the same thing one on your Pool Party piece with the 5th largest Stitched Rectangle Die. **if you don’t have the Stitched Rectangles dies, then you can simply measure out your windows and use your paper trimmer to create the windows and frames…or perhaps look at other dies you have that may work!
Next, cut and score your pillar pieces. Fold the score lines, burnish with your bone folder and then glue the last panel to create the squared pillar shaped.
Glue your frame pieces to the card base and the window base. Then add your two pillows to the inside edge of your card base frame. Make sure to fold them in both directions to make sure they lay flat when folded. Next, add your Basic White cardstock to the center of the frame on the card base (stamp first if stamping).
Stamp, color and die cut all the pieces for your base and frame…the flowers, pots, etc. Decide how you want to place them. Once you know, go ahead and glue your window frame to your pillars. Then add your die cuts, taking care where the glue is placed. Use dimensionals for added height.
Stamp and decorate your inside panel. Add embellishments and you have the prettiest card!
Here is a look at my other samples. I really enjoyed making these!


I used the Garden Meadow Stamp Set and Meandering Meadow Designer Series Paper to create this pretty card. The base is Petal Pink. I also added the Adhesive Backed Dragonflies and Birds to the scene on the front.


This card is a nice mix of retired products and new. The base is Blueberry Bushel and I used some Glorious Gingham DSP for the frames. I stamped with the Fluffiest Friends Stamps (I’m so glad they carried over!). The greeting and inside sentiment comes from the Hope You Know cling stamps. I love, love, love this stamp set because you get greetings and coordinating phrases that are so perfect! And that chubby little kitten is the cutest!


This last sample was my first try at making this card. It’s just a little different than the one in my video, but it shows you how you can just change a few elements and get a new look. Which is your favorite? I can’t decide!!
I enjoyed making these cards today and I truly hope you enjoy creating them for the people you love. Thank you so much for stopping by!
Happy Crafting!