
The Double Z has been around for a while. I’ve made them before, but it never occurred to me how easy it was to tweak a bit to create a completely different looking layout. I love knowing how to make a fold and knowing I can change it just slightly to make it look completely different.


Check out these beauties. Very different, but not! I just changed up the second Z! By tweaking the zzzz you can get entirely different looking cards. Here’s how to make a basic Z-Fold…the tweaking is up to YOU!

CUTTING/SCORING
BASE Z(Blackberry Bliss): 8 1/2″x 5 1/2″, scored at 2 1/8″ and 4 1/4″
LAYERS (Calypso Coral): 5 3/8″x 2″ (x2), 5 3/8″x 4 1/8″
LAYERS (DSP): 5 1/4″x 1 7/8″ (x2), 5 1/4″x 4″
2nd Z (Calypso Coral): 7″x 3 1/2″, scored at 3 1/2″ and 5 5/8″
LAYERS (Basic White): 3 3/8″x 3 3/8″, 3 3/8″x 2″, and 3 3/8″x 1 1/4″
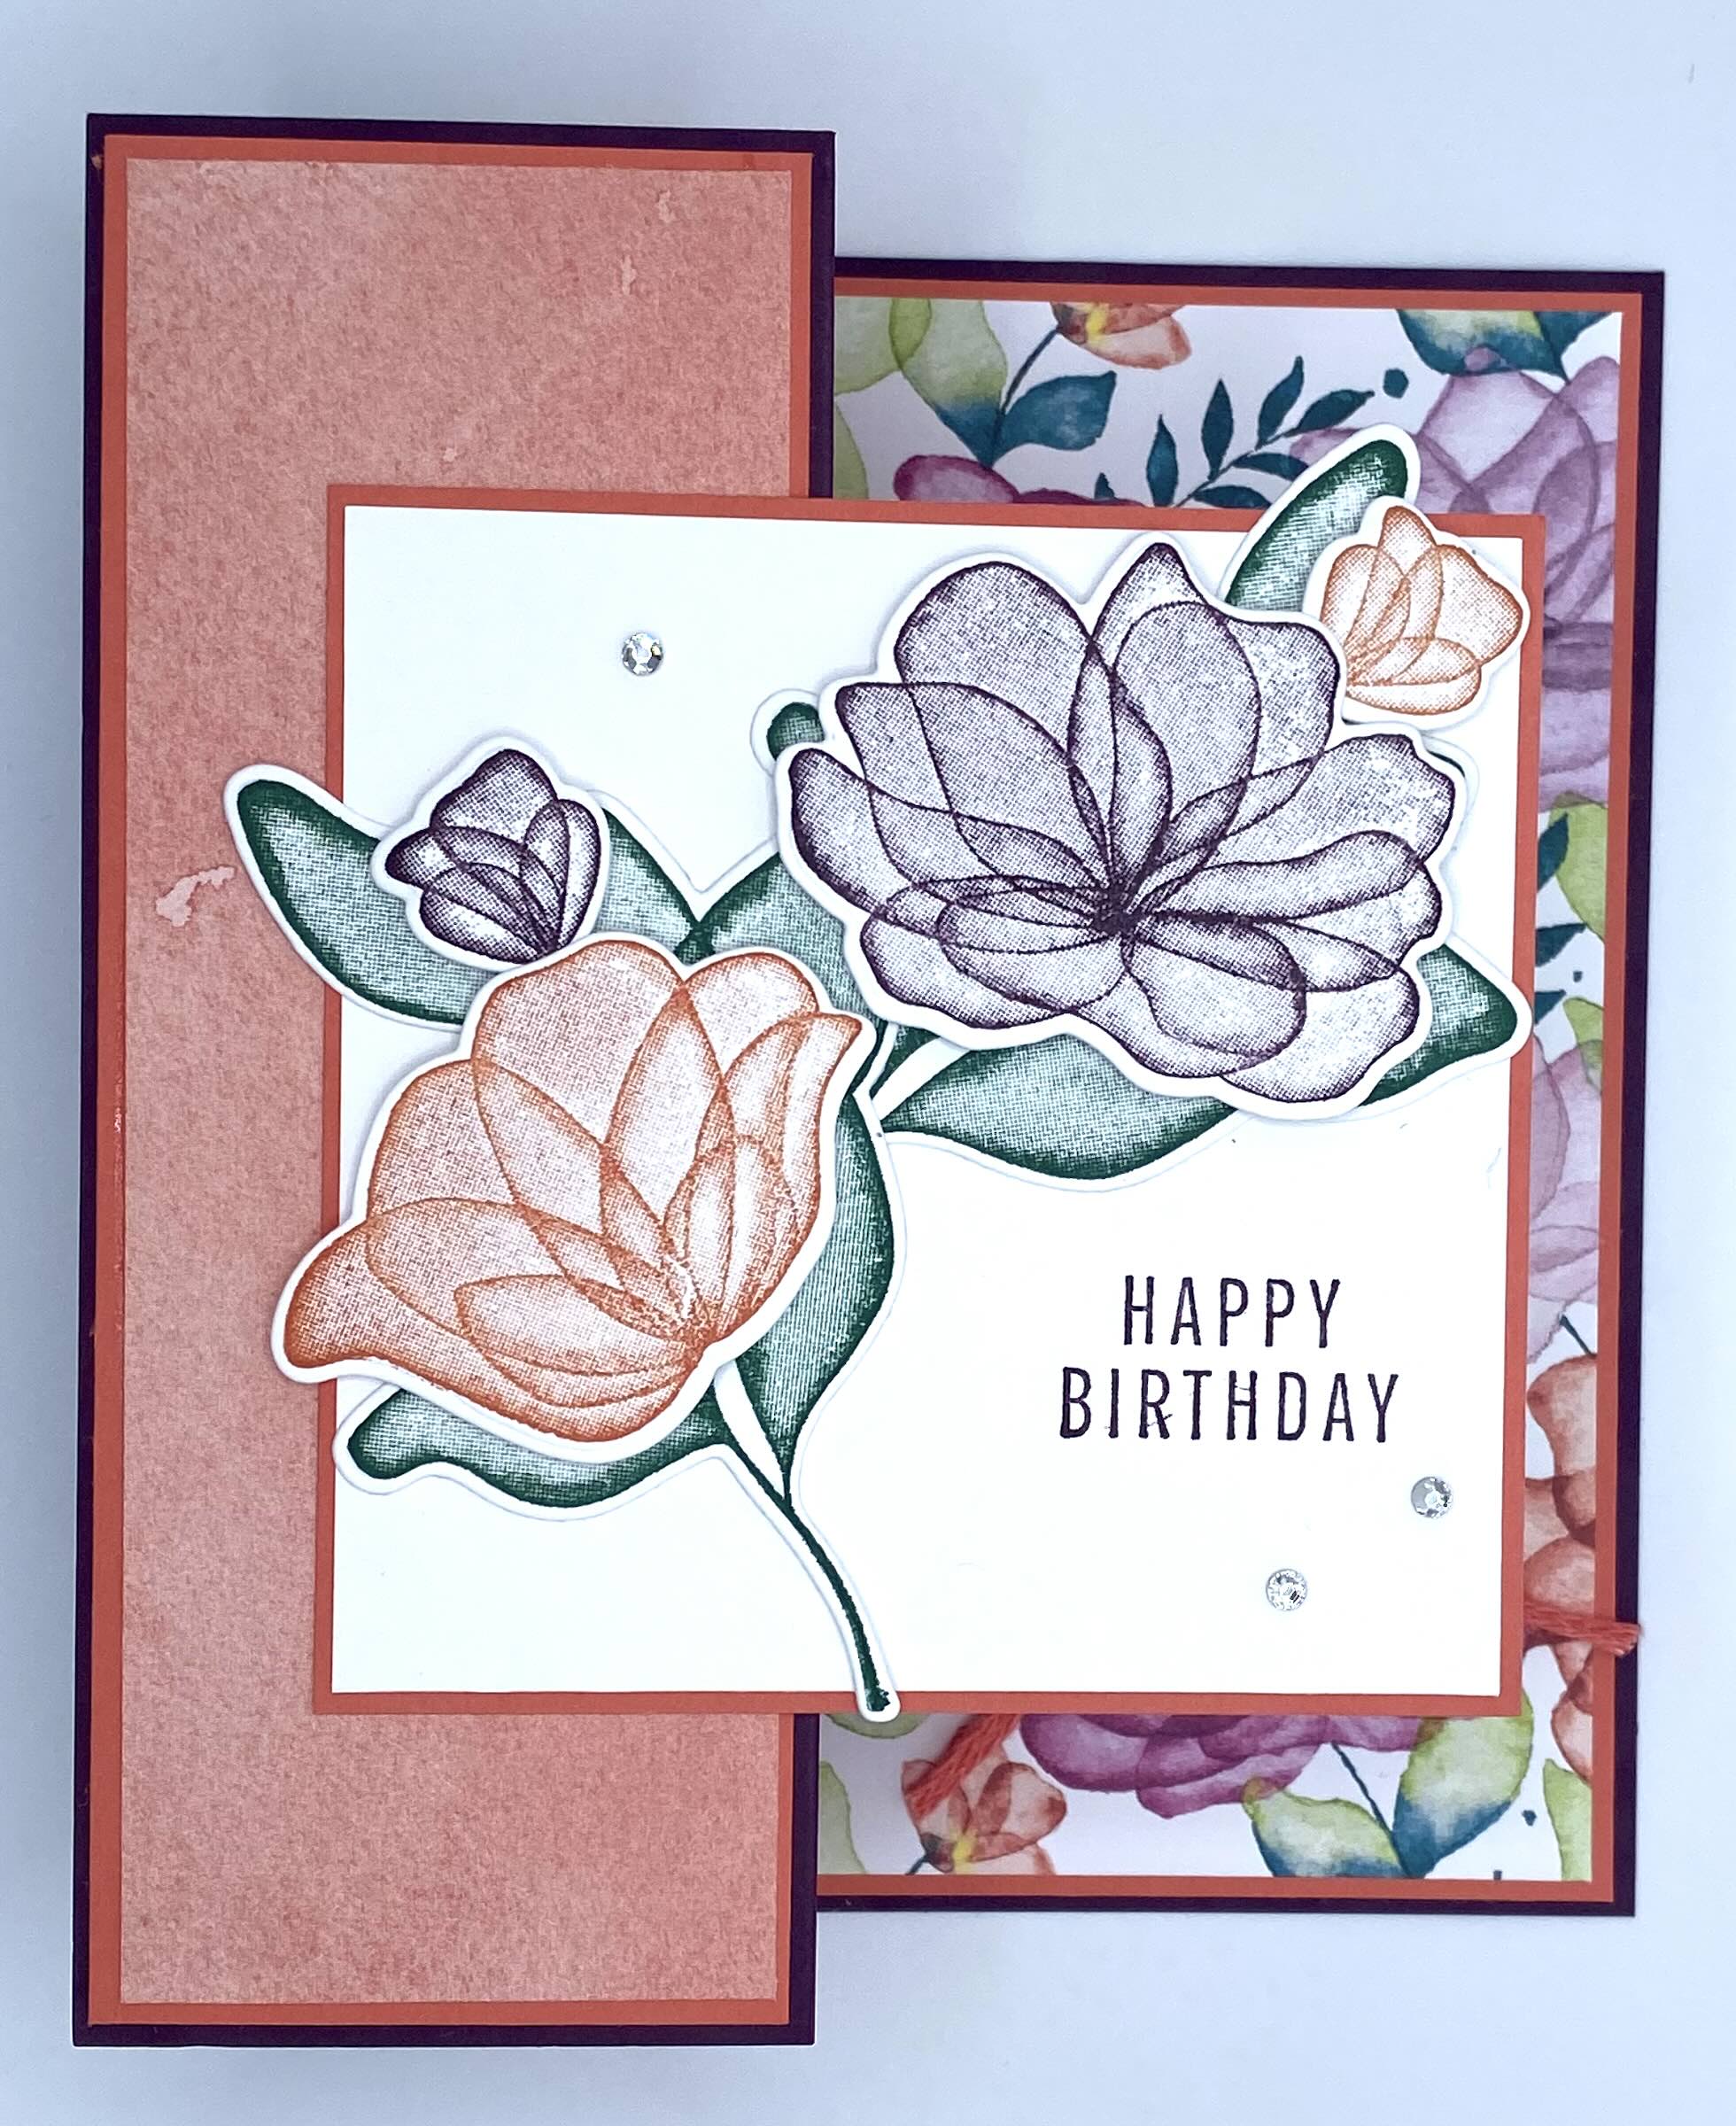
EXTRAS: Calypso Coral Ink, Blackberry Bliss Ink, Shaded Spruce Ink, Dimensionals, Ribbon, Clear Rhinestone Embellishments, Stampin’ Cut & Emboss Machine
ASSEMBLY: Fold your large base..from left to right it should be a mountain fold and then a valley fold. Burnish with your bone folder. Adhere your layers and set aside.
Fold your 2nd Z base and fold it the same way. Again, use the bone folder to get a nice crisp crease. Set aside. Now it’s time to stamp your Basic White pieces. Also, grab some scrap Basic White cardstock and stamp your flowers and do your die cutting. Add your die cut pieces to your stamped 3 3/8″x 3 3/8″ square piece. Adhere all your layers to the small Z fold. Now you are ready to join the ZZZZs! Apply adhesive to the small fold on the second Z. Fold and hover it over where you want it to be; then, just press it down in place. Once it is in place, add adhesive to the opposite end (the left) and press that in place. Take care that you only add adhesive to the portion that will b attached to the front panel. Now your card is ready to embellish! I added a ribbon to my small bouquet of flowers and then a few clear rhinestones on the front. This card is so pretty!!
Here are the variations on that Double Z-Fold!

For this festive birthday card, I used Azure Afternoon and Lemon Lolly cardstock and ink. The DSP is from the Bright & Beautiful 6×6 DSP paper pack. The stamp sets I used are Circle Sayings and Biggest Wish. I also used some circle dies. The only difference in the design of this card is that I cut the 2nd Z about 1 1/4″ tall instead of 3 1/2″! You can make the 2nd Z and size…bigger or smaller, and even shift the score lines if you wish!!

I really love how this card came out. It was actually a happy accident. I started to put the layer on the front and had it sideways…and I immediately saw that I could make that work! I used products from the Perennial Lavender Suite and it’s. so pretty! Gorgeous Grape and Highlander Heather cardstock really set off the colors in the Designer Series Paper. I stamped In a variety of colors…again Gorgeous Grape, Highlander Heather, and even some Fresh Freesia. Die cutting the bouquets and adding ribbon made it look like a gift in itself. I added some Brass Butterflies to finish it off. I can’t wait to give this card for Mother’s Day…but I think I’ll have to make a few more because I can’t decide which Mom to give it to!
My takeaway for this fold is that you should always take a moment to see what possibilities your creating holds. Sometimes we accidentally discovery new ways to create. That’s the best part of “creativity”. Don’t you agree?
Happy Crafting!