
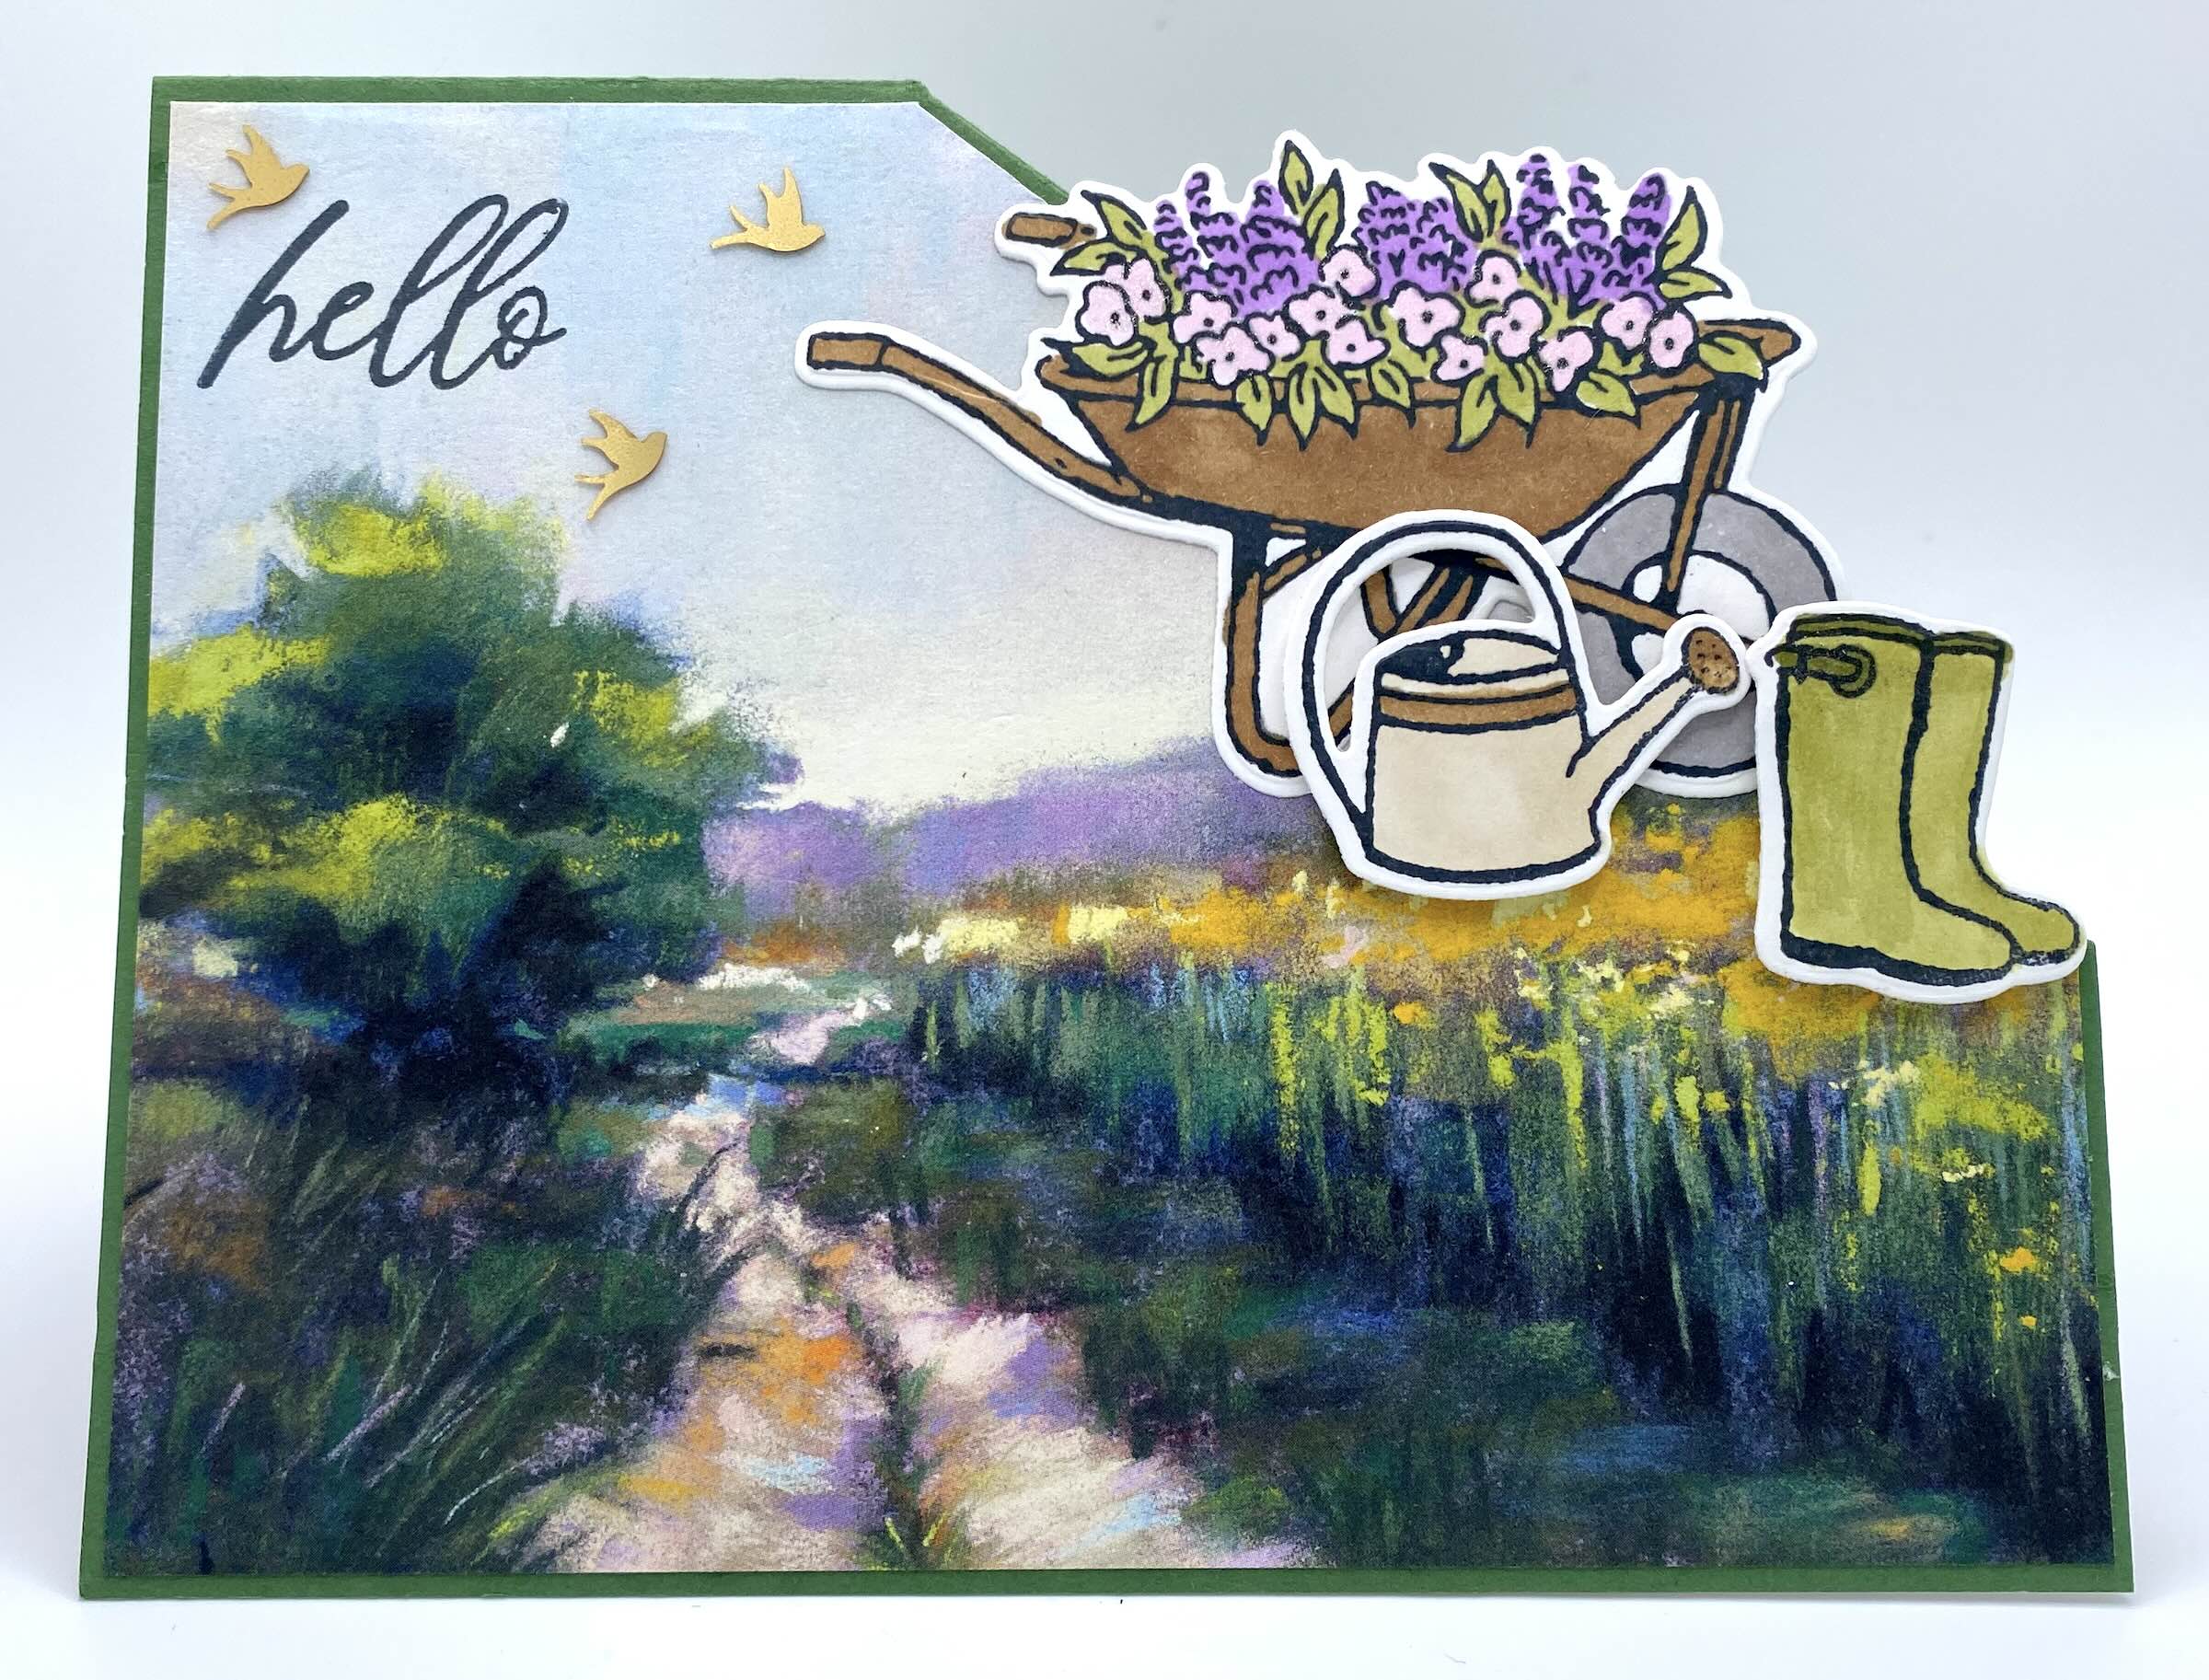
I think you’ll enjoy this fun fold card. It has such an artistic flair to it with its jaunty little corner. I love that you can create the corner on either side and make the card portrait or landscape oriented. I used the super gorgeous Meandering Meadow Suite to create this card. The Garden Green cardstock really set off the pretty DSP (Designer Series Paper) and pulls everything together. DSP with nature scenes are my favorite. You can do so many fun things with the paper.

See how nicely the Garden Green looks for the card base? It compliments the Highlander Heather and Bubble Bath Alcohol Based Markers I used in the flower and even helps the Pecan Pie in the wheelbarrow really stand out. There’s also some Clear Wink of Stella making the flowers and boots sparkle…I just love using my Wink! When you add pop out pieces to the folded corner, it looks super intricate…even though it’s not that hard at all!

I carried the color scheme to the inside of the card as well by die cutting a few extra pieces and stamping the little quail family. The watering can pops off the top of the fold and some Clear Wink of Stella falling from the watering can onto the flower petals mimics falling water. It is hard to see if the photo but in person it looks really cool.
Here’s how to create this card:
CUTTING/SCORING:
BASE: 5 1/2″x8 1/2″, score at 4 1/4″ like you would a standard card
DSP OUTSIDE: 5 3/8″x4 1/8″
DSP & BASIC WHITE CARDSTOCK INSIDE: 5 2/8″X4 1/8″ for both
TEMPLATE: Cut a rectangle from a piece of scrap cardstock that is 3 1/4″x2 1/2″ and then cut that diagonally so you end up with this. **I like to mark both triangles so I know they are my template pieces and don’t accidentally get added to a card.

ASSEMBLY: Cut your base and score it at 4 1/4″; fold and crease with your bone folder. Grab one of your template triangles and line it up on the corner of the card you want folded. Use the scoring tip on your Take Your Pick Tool (the easiest way) and score along the edge of the template. Repeat on the back, making sure you’re scoring in the same direction. **You can also use your scoring blade on your paper cutter, but it’s a little trickier. Once your score marks are made, fold you corners in to create your flip fold and crease with the bone folder.
Now that your base is ready, grab your inside and outside DSP/Cardstock pieces. Lay them on the card the way they will be adhered. Once they are in place, layer them together in the exact same way. Now when you use your template to slice through the 3 layers at one time, all your pieces will fit perfectly in their spots. To do that, just line the template and pieces along your paper cutter and cut through them. Open up the inside of your base and lay out your large pieces. Now you can decide if you want to use those triangles you cut off to decorated your folded corners. If you use those cut pieces, you’ll want to trim off 1/4″ along the straight ends so they fit perfectly with a small border of Garden Green showing through.
Next, do all your stamping on the outside and inside. Once that is complete, add your front and inside layers. I like to use liquid glue to make sure I have a little wiggle room to get everything perfectly straight. Once all your pieces are glued down, all you have left are your die cuts. I stamped the wheelbarrow, a boot, 2 watering cans and flowers and then colored them in with Alcohol Based Markers and Wink of Stella. After coloring them, I ran them through my Stampin’ Cut & Emboss Machine and glued them in place on the top corners. Just make sure you keep all your die cut pop out pieces in the confines of the 4 1/4″x5 1/2″ card measurements so they fit in an A2 envelope.
Here’s the video in case you want to stamp along. Just don’t forget about cutting that 1/4″ off your triangles like I did! Oops!!
Now that you know how to make the Corner Flip Fold Card, you can use it with so many of your stamp sets! Here’s a few other samples I created.


Now that you know how to create a Corner Flip Fold Card, what will you make? I hope you get a chance to play around with this fun card fold. Don’t forget to take a look at my online store for all your paper crafting supplies!
We’re only a month away from Sale-A-Bration Season!! I just preordered so many new products that I can’t wait to show you!! And the free products are amazing!!!!! Tune in soon!
Happy crafting!