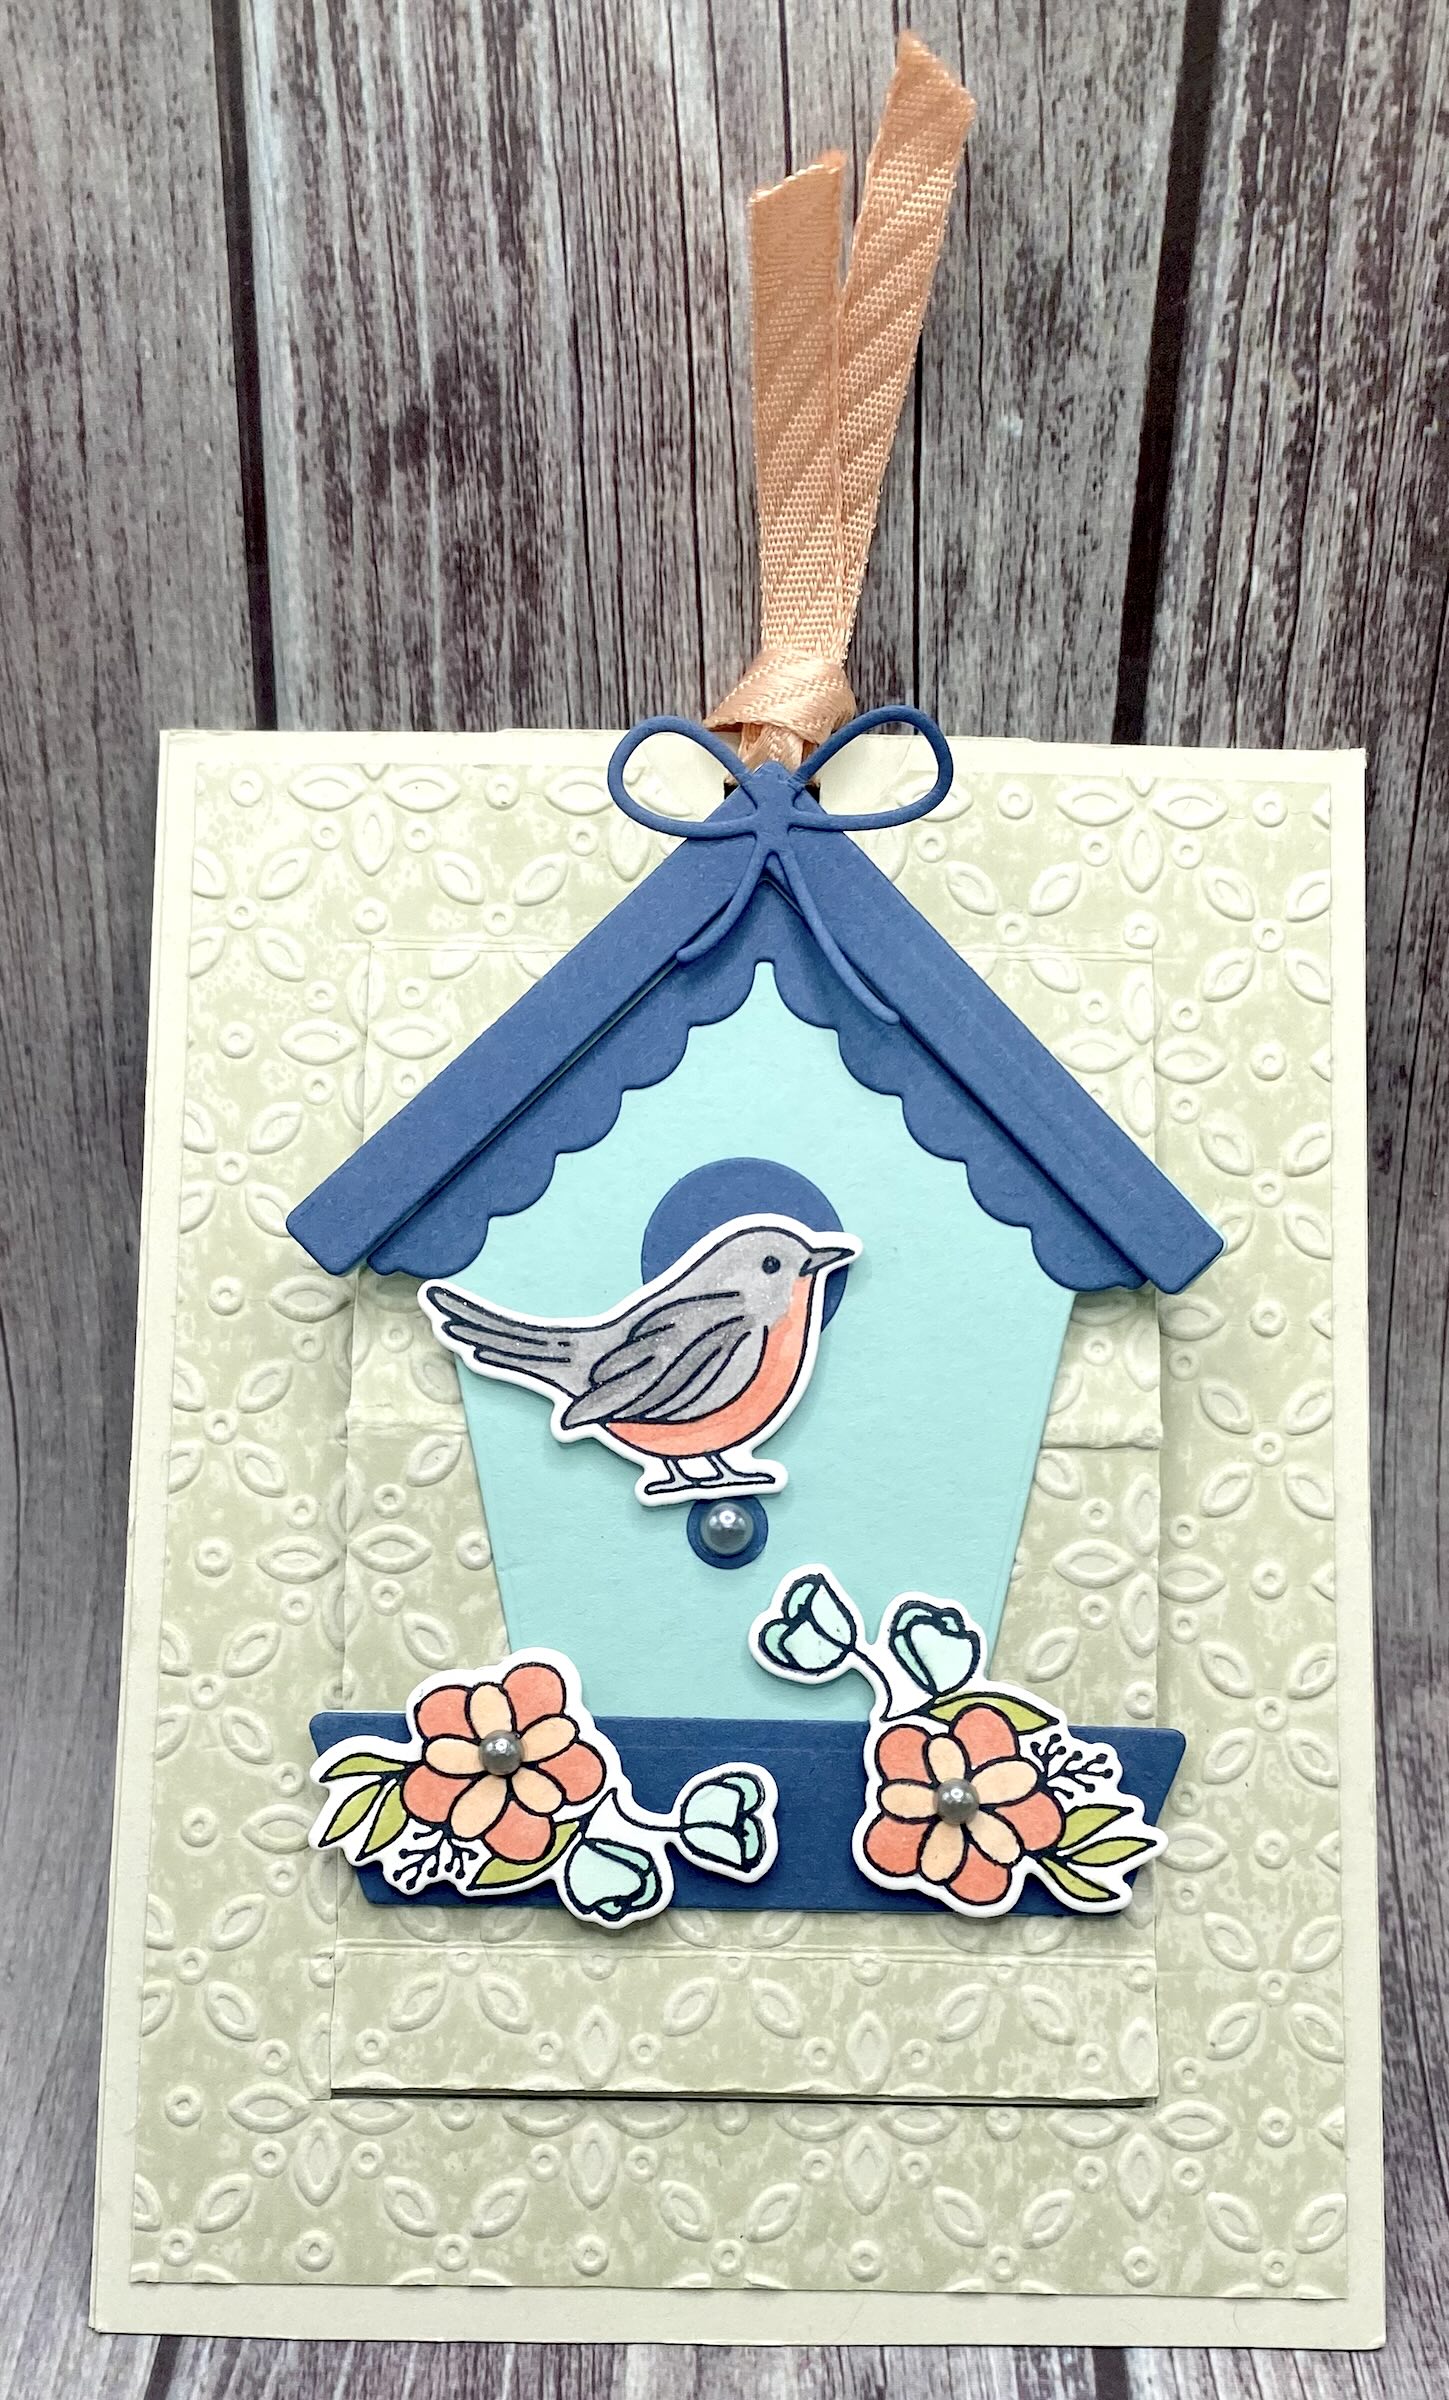
Today is the day! The new 2024 Stampin’ Up Annual Catalog was released today with an amazing array of new products and some exciting new ways to paper craft. I’ll be sharing lots of new products over the next many weeks and can’t wait to get started creating. This video showcases the Country Woods Suite of Products, but really shows off the Country Birdhouse Stamps and coordinating dies. When I saw the birdhouse, I knew I needed to make a pop up card so it could stand all by its cute self!

The pop up really shows off the sweet little birdhouses, don’t you agree! Here’s how to make these cards.
CUTTING/SCORING
CARD BASE (Basic Beige): 4 1/4″ x 5 1/2″ (x2)
INSIDE PULL TAB (Basic Beige): 3″ x 4 3/4″
OPT FRONT PANEL TO EMBOSS (Basic Beige): 4″ x 5 1/4″
OPT BACK PIECES (Misty Moonlight and Basic Beige): 4″ X 5 1/4″ and 3 3/4″ x 5″
DECORATING/ASSEMBLY
If you’re creating that embossed panel on the front, grab that 4″ x 5 1/4″ piece first. Ink up the front of the embossing folder (I used Basic Beige for tone on tone). Then place your front panel piece in the embossing folder and run it through. Now you’ll want to glue your front panel to the top layer of your card base.
Now it’s time to cut your front panel. With the short edge at the top of your cutter, place the left edge at the 3 1/2″ mark. Then, place your cutting blade 3/4″ down and cut it from the 3/4″ down to 4 3/4″. Rotate your paper to the opposite side and repeat. Next, place the panel with the long side at the top of the cutter at the 4 3/4″ mark and cut between your two slits.
The last step for this panel is to do your scoring. With the long side at the top of the cutter, and the flap that you just created on the left, score between the cuts at 1 1/4″, 3″ and 4 3/4″. Once scored, you can fold the score lines to create the slide opening.
The next step is to place your two card bases together and mark the center point at the top (2 1/8″) so you know where to cut your notch out for the pull tab. Use a circle punch around 1 1/4-1 1/2″ or whatever you have close to that.
While the two layers are stacked together, use a pencil to mark where your stamping will be on the inside. Now it will be easy to stamp in the right spot! When you’re done stamping/coloring, just erase your little marks.
Now it’s time to adhere our two layers together. On the front layer, add Tear and Tape to the thinnest scored section and also along the sides and bottom of the panel. Once all your Tear and Tape is applied, remove the tape on the scored piece and attach your pull tab panel. Then remove the rest of the Tear and Tape and adhere the front and back together.
Next, mark the center of your notch and use a hole punch to create a hole for your ribbon to go on your pull tab. (Since making this card, I’ve decided it’s good to add a little reinforcement piece to the pull tab, like maybe a small circle folded in half. This is because I’ve pulled the ribbon and ribbed my punched hole!!). Add a ribbon to the hole for pulling the pop up open.
Now all that’s left is the super fun part…creating your birdhouse. I just die cut all my pieces and assembled them right on the front on the fold so when it is pulled open it stands up. And to finish off the card, add your pieces on the back if you choose to. I did this to cover up where the alcohol blends bled through the paper.
Here are all my samples. I will definitely be making more of these!!


Colors: Cardstock – Basic Beige, Misty Moonlight; Alcohol Markers – Petal Pink, Calypso Coral, Smoky Slate, Old Olive, Pool Party; Ink – Tuxedo Black Memento Ink; Ribbon – Petal Pink & White Ribbon Combo


Colors: DSP – Country Woods, Country Lace; Cardstock – Basic White, Misty Moonlight, Petal Pink, Pool Party; Alcohol Markers – Petal Pink, Calypso Coral, Granny Apple Green; Ink – Tuxedo Black Memento Ink; Ribbon – Petal Pink & White Ribbon Combo


Colors: DSP – Country Woods; Cardstock – Basic White, Basic Beige, Misty Moonlight, Pool Party; Alcohol Markers – Calypso Coral, Old Olive, Balmy Blue; Ink – Tuxedo Black Memento Ink; Ribbon – Petal Pink & White Ribbon Combo
I hope you enjoy this as much as I do! Thanks so much for joining me on this crafternoon. Happy Crafting!

