I saw a card made with this fun fold recently and knew I needed to learn it. I love it so darn much I decided to share it with all may crafty friends as well. It’s as simple as some cuts and a few scores and lots of pretty paper and stamping. Actually I didn’t stamp that much. I let the amazing dies that coordinate with the stamp sets do all the work! You have to make one of these cards!!


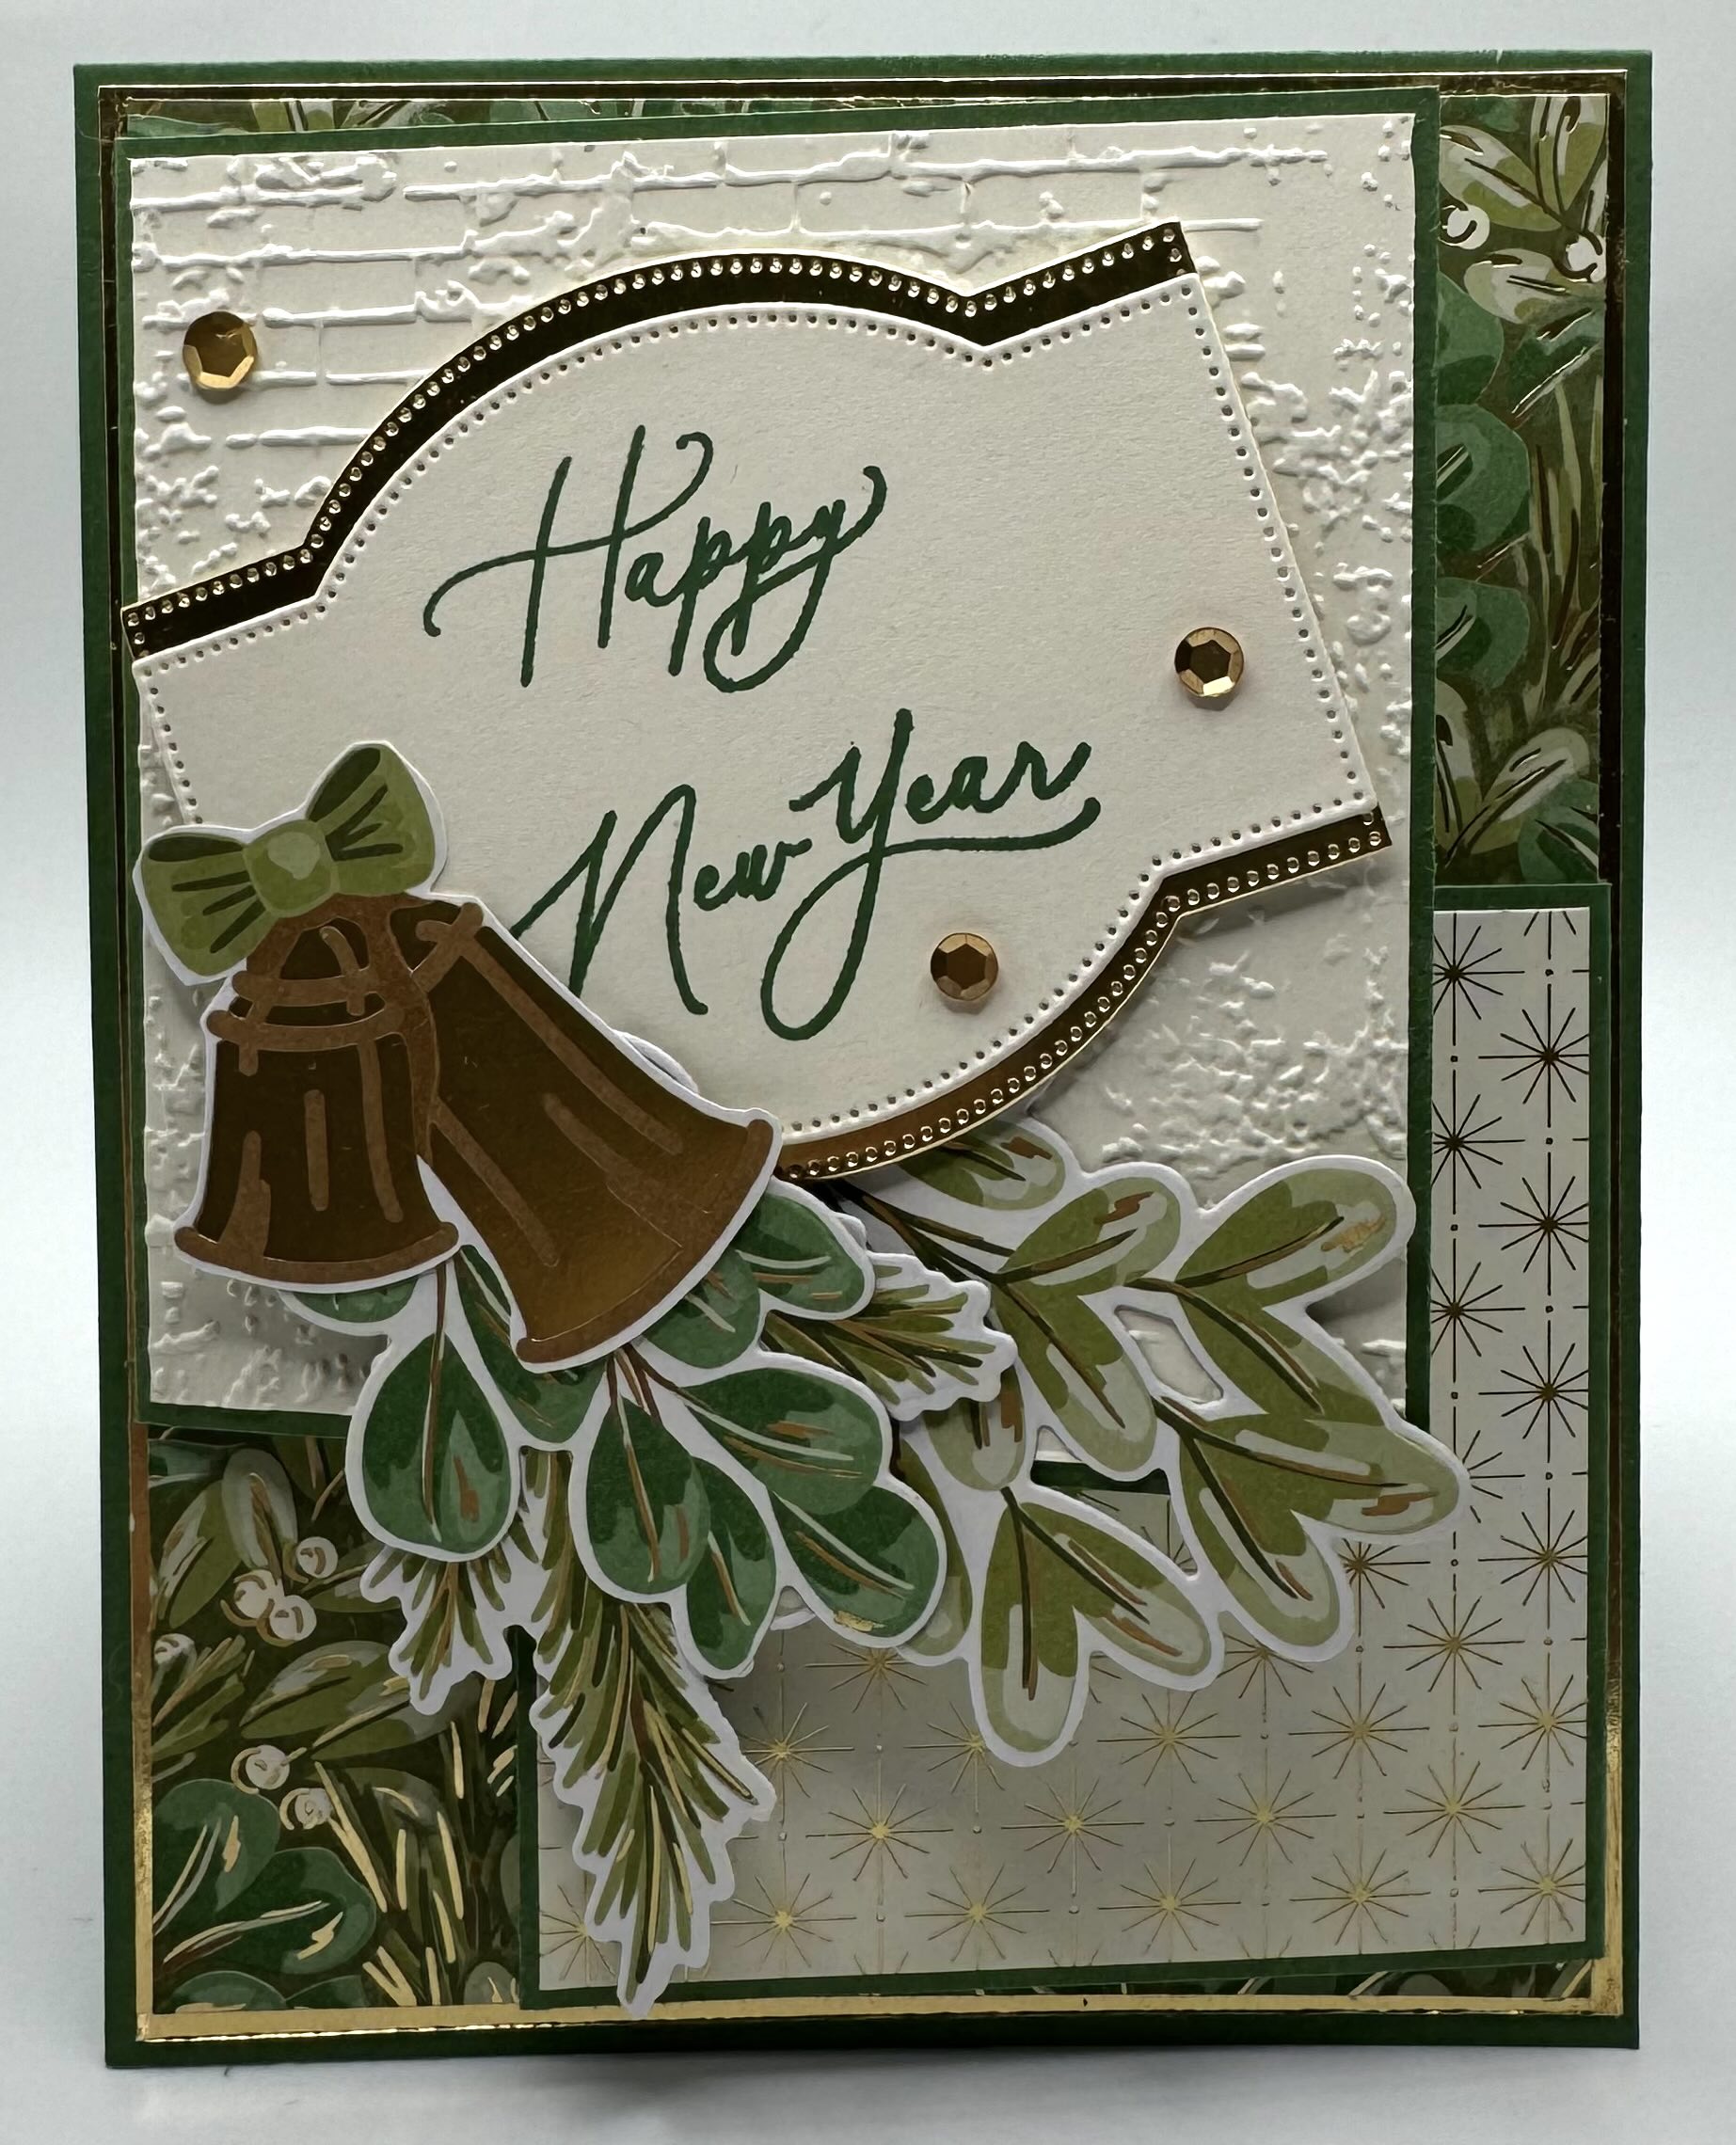
It’s so pretty! I love how this card came out…it might just have to be one of my holiday cards!! I used Garden Green cardstock for my base. Then for the front I layered some pretty paper from the Seasons of Green & Gold Specialty DSP. I love the metallic gold in the paper. I also layered some Metallic Gold Specialty paper to really pop all the other hints of gold in this card. The greetings and sentiments are from the Greetings of the Season stamp set.For the front flaps and inside sentiments, I used Very Vanilla Cardstock and stamped in Garden Green ink. The Golden Greenery Stamps and Dies make creating this pretty card super easy. And Stampin’ Up made the DSP so several of the dies can cut out images from the DSP. I love that!! It’s a time saver when you’re cranking out a stack of cards. By the way, I stamped the greenery inside the card in Old Olive and Garden Green. And, the embellishments are Neutrals Metallic Adhesive Backed Sequins. You just can’t have too much glimmer!
Are you ready to make one? Here’s how:
CUTTING/SCORING
BASE: (Garden Green) 4 1/4″x11″, scored at 5 1/2″
LAYERS FOR BASE: (Gold Metallic) 4 1/2″x5 3/8″; (DSP) 4″x5 1/4″
FRONT FLAPS: (Garden Green) 3 3/4″x3 1/2″, with long side at the top, score at 1/4″;
3 1/4″x 3″, with long side at top, score 1/4″
FRONT FLAPS OUTSIDE LAYER: (Very Vanilla) 3 3/8″x3 3/8″; (DSP) 2 7/8″x2 7/8″
FRONT FLAPS INSIDE LAYER: (Very Vanilla) 3 3/8″x3 3/8″ and 2 7/8″x2 7/8″
BASE INSIDE LAYER: (Very Vanilla) 4″x5 1/4″


I used products from the Flowering Zinnias Suite for this card. This was one of my very favorite suites from this year’s catalog. If you love it, grab it before the new catalog comes out next year! The card base is Blackberry Bliss layered with Petal Pink. For the front I used DSP from the Flowering Zinnias DSP. I embossed Basic White cardstock with the Zinnia 3D Embossing Folder and created the tag with a die from the Stylish Shapes Dies. The flower dies from the Simply Zinnias dies makes such pretty flowers. Make sure you curl up the petals a bit with your bone folder to give them a little more life! I stamped on the inside panels and colored them in with Stampin’ Blends. I love how elegant thy come out every single time! My greetings came from the both the Simply Zinnia stamp set and the Simply Said stamp set. This would also make a great Mother’s Day card!


I used the gorgeous Nests of Winter Suite for this last card. It’s a stamp set that works all year round!! Again, the dies do most of the work for you! I die cut the birds from the Nests of Winter DSP. The paper is gorgeous. My card are is Crumb Cake layered with Copper Clap. I embossed the front panel with the coordinating Birch Woods 3D Embossing older. I embellished it with Natural Tones Linen Thread (the copper clay colored spool) and Drusy Adhesive Backed Embellishments. The greetings are stamped in Copper Clay ink and I stamped in the inside greenery in Memento Ink and used Stampin’ Blends to color them.
I can’t decide which of these I love the most…which one is yours? Let me know!!
Happy Crafting.


2 responses to “How to Make a Triple Front Flap Fun Fold Card”
•
You make beautiful cards. Thank you for sharing your cards and how to make them. I have been making cards for years and am considering starting a business but just for local craft shows more fun than anything. I love trying new techniques and making cards.
•
Thank you so much! I enjoy sharing them with you. You should totally do that…I recently met a wonderful lady who was just asked to make cards to put in a local shop. She was so excited. Craft shows are a great way to share your love of paper crafting as well. I’d love that for you!!