
One of my favorite products from Stampin’ Up is all the gorgeous Designer Series Paper. I love showing it off in the cards I create. Here’s a great way to use that paper to create an accordion fold. And, I’m going to show you two ways to create the cards – using 12×12 paper and 6×6 paper. I love options!!


The first way I’m going to show you is by using your favorite 12×12 Designer Series Papers! Here’s how I created this card!!
CUTTING/SCORING:
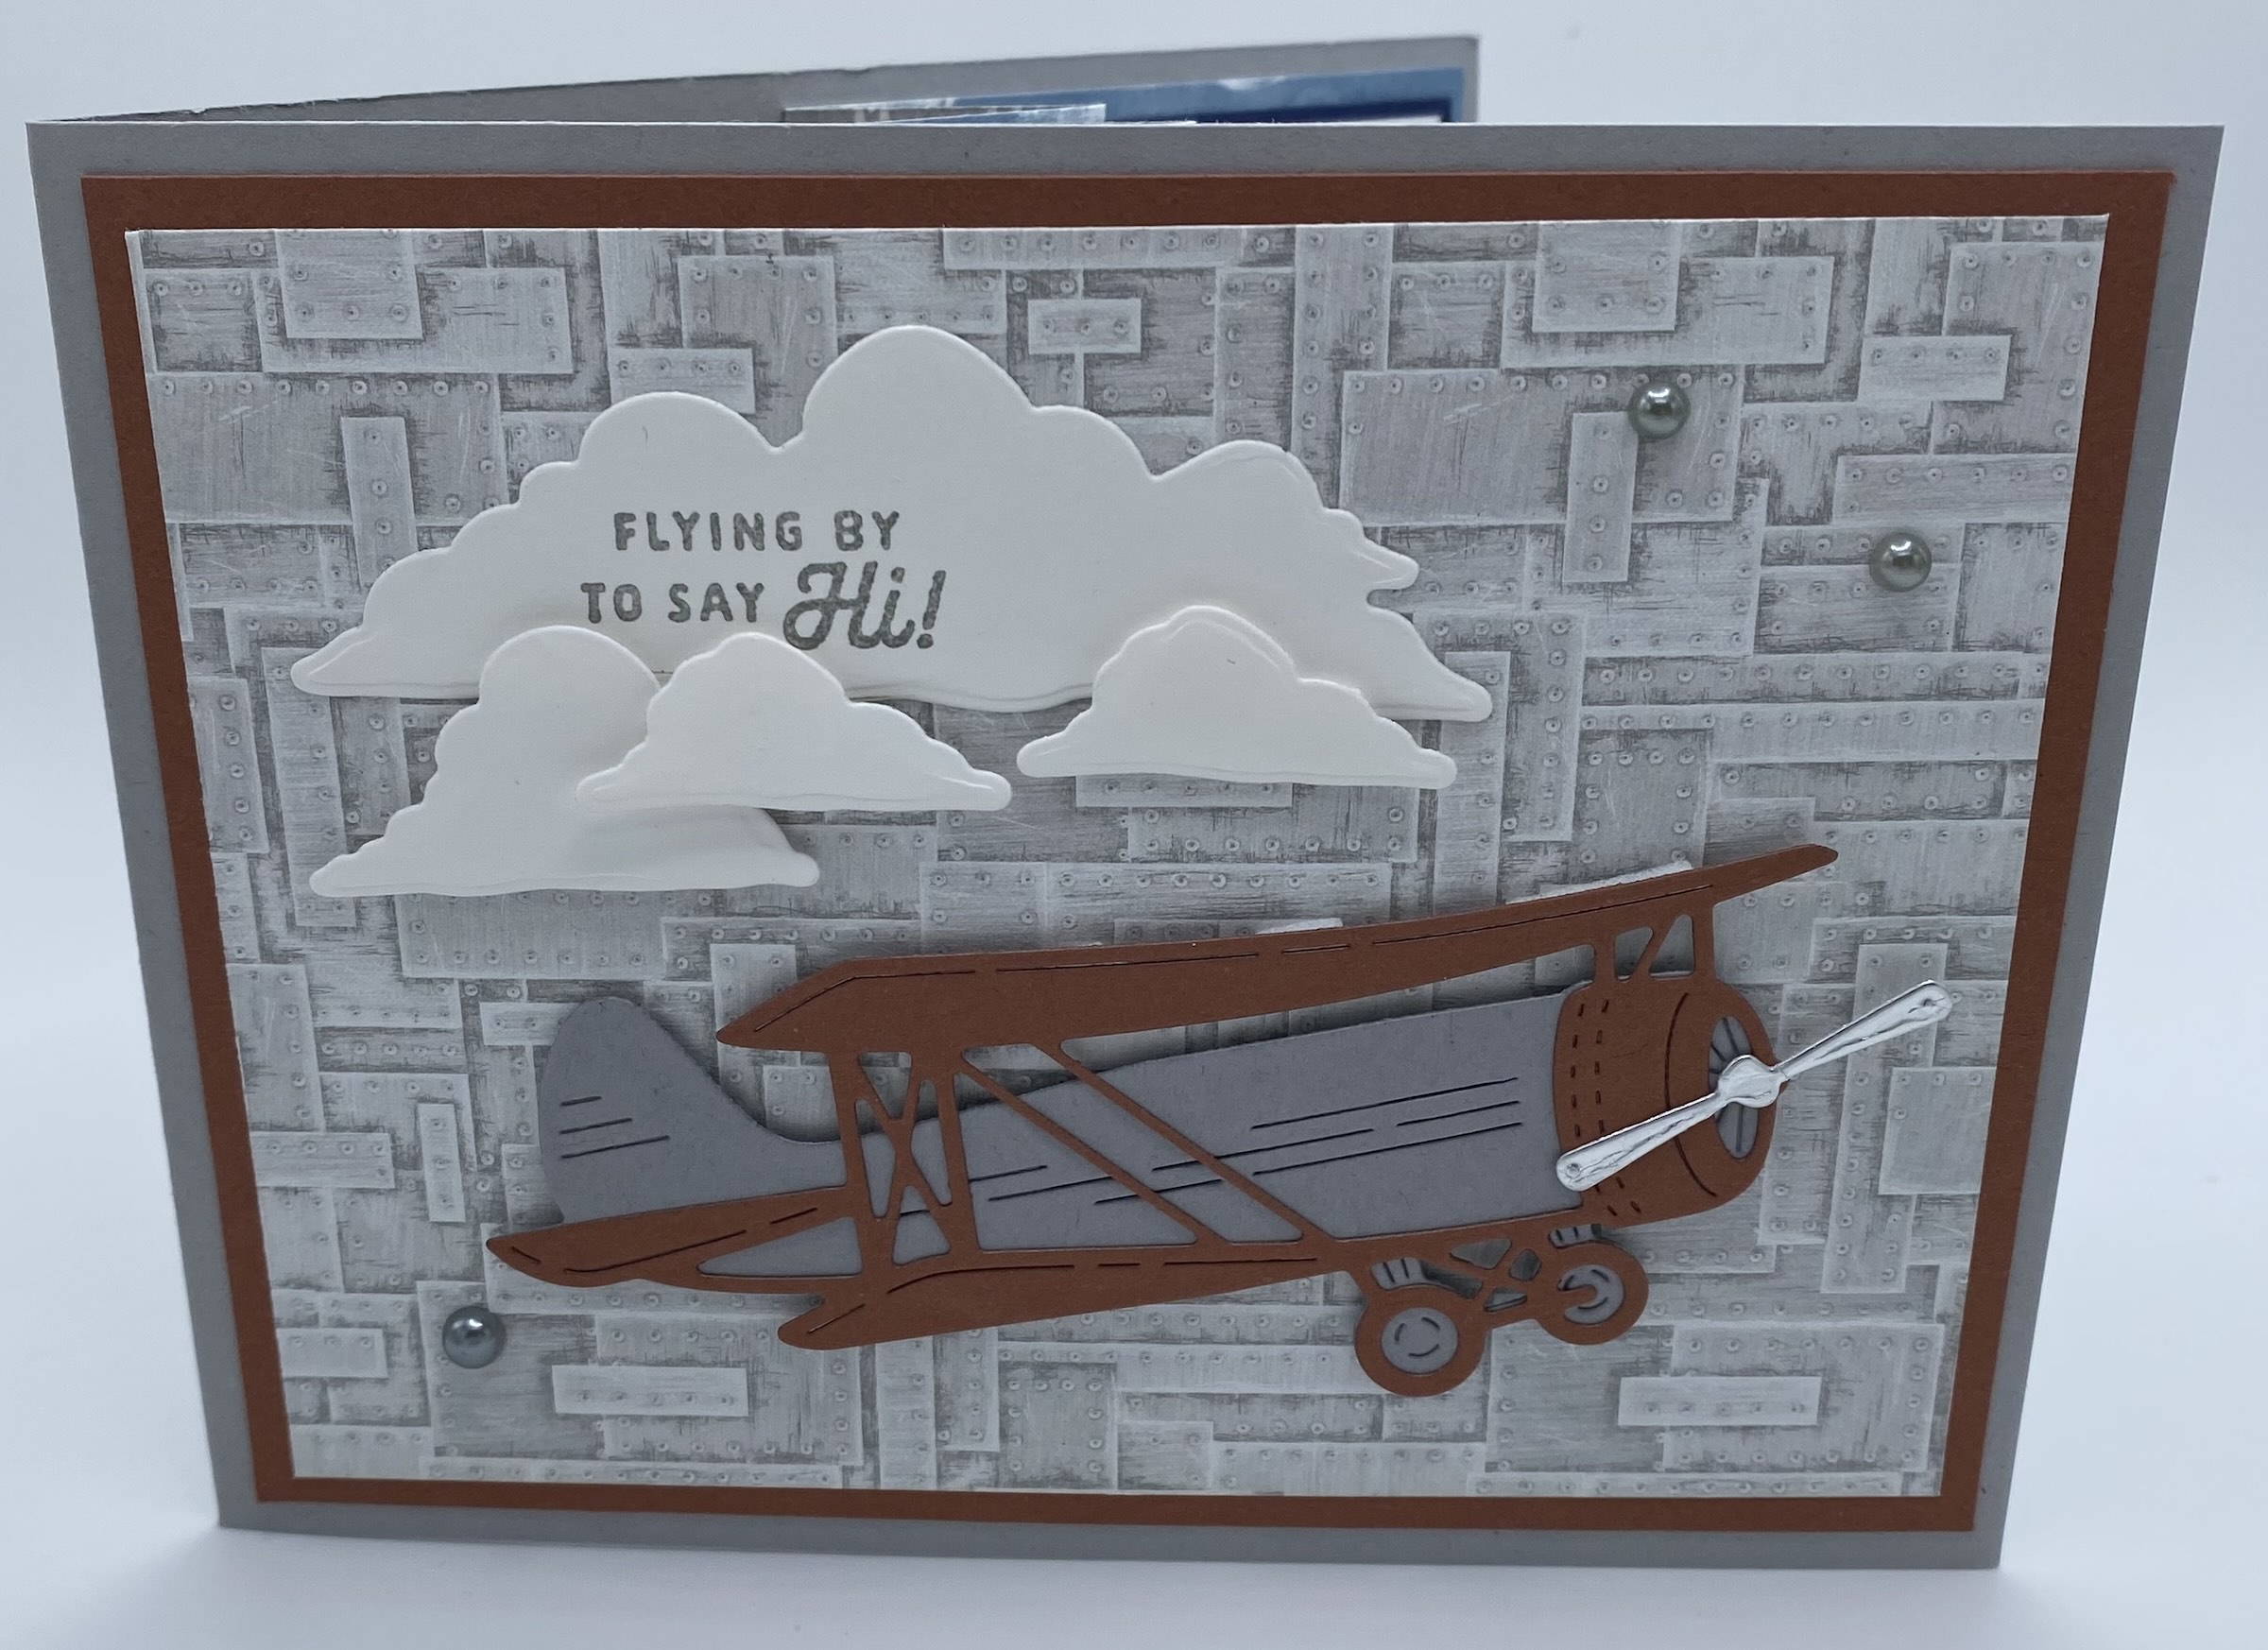
BASE (Smoky Slate): 4 1/4″ x 11″, score at 5 1/2″
LAYER FOR BASE (Copper Clay): 4″ x 5 1/4″
DSP FOR BASE (Take to the Sky): 3 3/4″ x 5″
INSIDE PLEAT (Take to the Sky): 4″ x 12″, scored at 3″, 4″, 5″, 6″, 7″, 8″, 9″
LAYER FOR INSIDE (Night of Navy): 2 3/4″ x 3 3/4″
BASIC WHITE FOR TOP LAYER: 2 5/8″ 3 5/8″
ASSEMBLY:
Fold you base piece on the score line. Adhere your Copper Clay and DSP layers to the front. Now, working on the inside, fold all your score lines on your pleated DSP (start with valley and alternate). Add adhesive to the 3″ section on the left and glue in place on the right inside of your card base. Then, fold your pleats shut, add your adhesive to the 3″ section on the right side of the DSP and close your card to adhere it to the left inside of your card base. This technique ensures everything closes properly. Next, add your Night of Navy layer to the right inside panel.
All that’s left is decoration! Stamp your sentiments onto the Basic White piece and adhere it to your Night of Navy inside. Then create all your decorations for the front and inside. I used the dies to create an airplane and also to cut several clouds. I used dimensionals to give it all extra lift (pun intended!). Don’t forget some embellishments!
Now, here’s how to create the same type of card, but with 6×6 DSP!


CUTTING/SCORING:
BASE (Mossy Meadow): 4 1/4″ x 11″, scored at 5 1/2″
TOP LAYER (Fresh Freesia): 4″ x 5 1/4″ and (Thoughtful Journey DSP) 2″ x 5 1/4″ **This is the leftover you’ll have from the inside pleated piece
INSIDE PLEAT (Thoughtful Journey): 4″ x 6″, scored at 1 3/4, 3″ and 4 1/4″
INSIDE LAYERS (Fresh Freesia): 2 1/4″ x 4″ (x2); (BASIC WHITE): 2″ x 3 3/4″ (x2)
ASSEMBLY:
Fold your base piece. Then, go ahead and fold your accordion piece. Match the center score line with the center score line of your card base. Then, apply adhesive to the back side of the right end of the DSP and glue it down. Now you just need to add adhesive to the left panel, fold it all up and just press the card base closed and the pleat is done. Next, stamp your inside pieces for the basic white panels; layer them onto the Fresh Freesia; and, adhere them inside the card. All that’s left is decorating the front!
To create the front, I stamped on my Fresh Freesia panel. Then, I adhered the DSP to the bottom front of that panel. Next, I added my ribbon, tucking the ends behind the panel. I used the Double Oval Punch to create the “Missing You” piece by punching the larger oval in Fresh Freesia and the smaller oval in Basic White. I stamped Missing You in Mossy Meadow. Adhere the panel to the front of your card and add some pretty Brass Butterflies.
Both of these are simple cards to create and you can have so much fun adding all your extras to make them really fancy and fun!
Don’t forget to check out my online store for all your card crafting must-haves! Happy Crafting!