
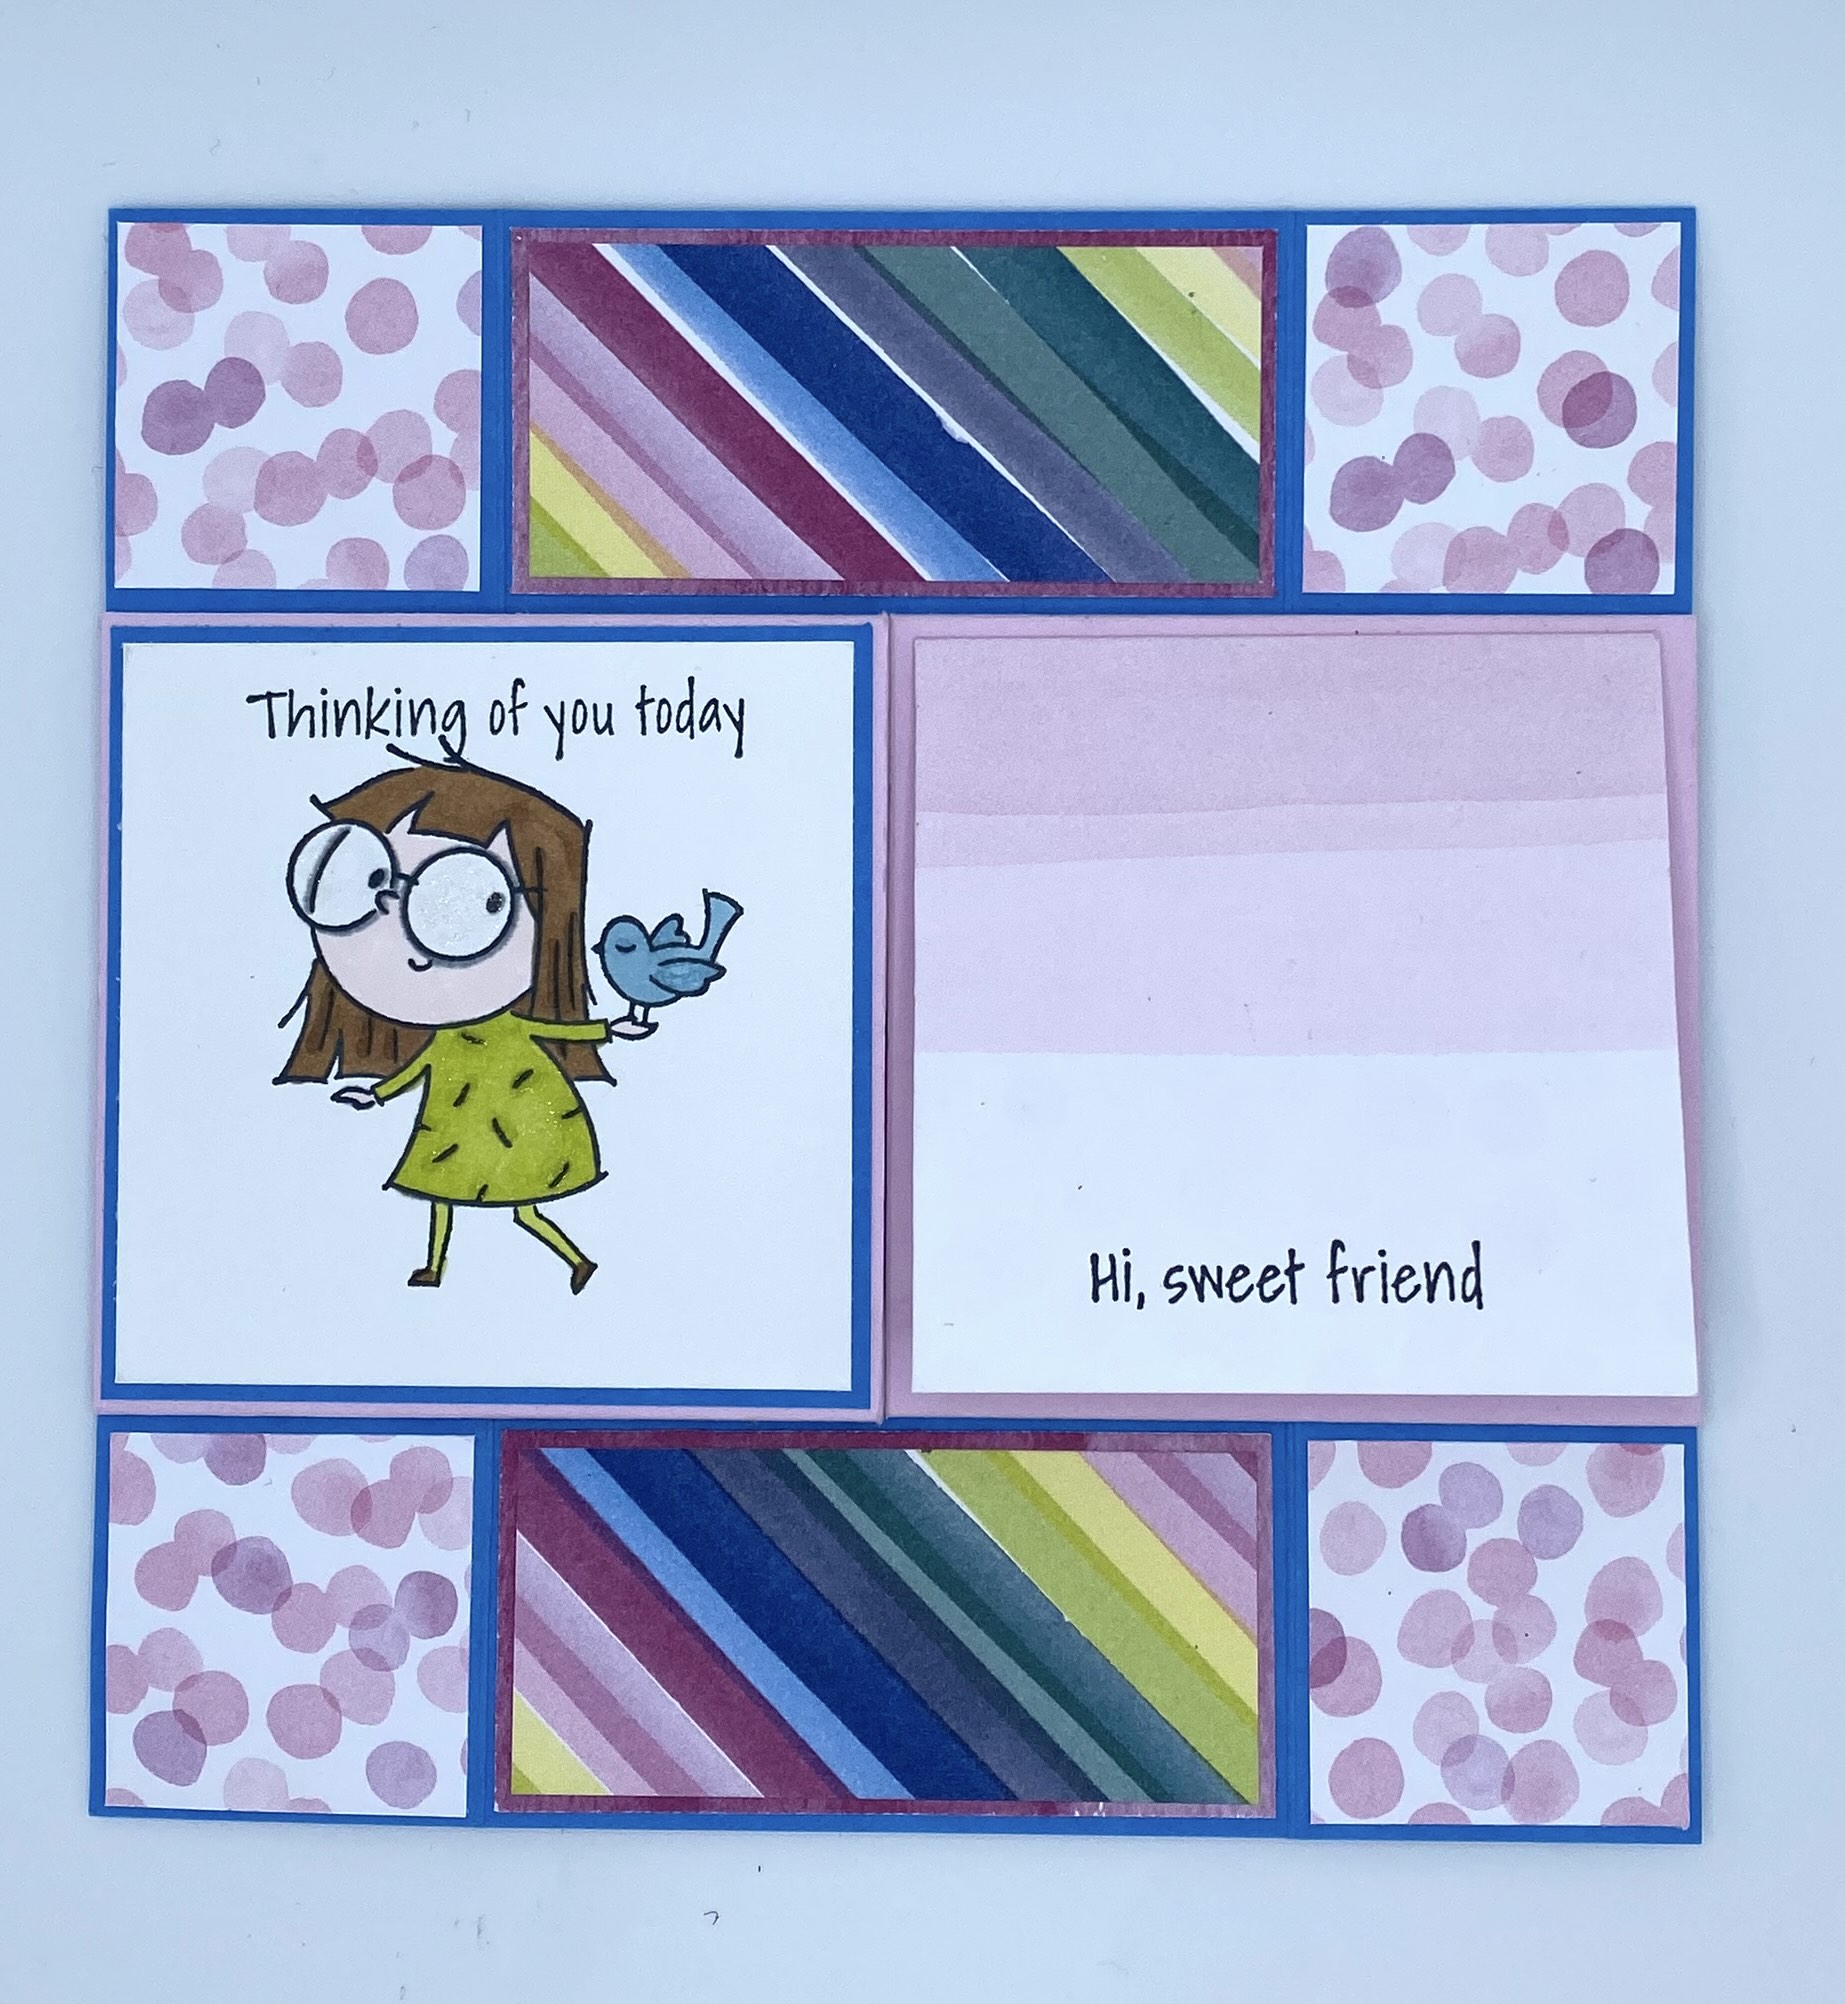
How about this for a cool card! I’ve been wanting to make one of these ever since I saw it for the first time on the Internet! It’s so much fun to create. It takes some time to prep all the little pieces, but it’s worth the time!! This card is a one-of-a-kind masterpiece that is all yours! The finished card is 6×6 so it will also need a larger envelope. You can make your own or purchase a pack. It’s so much fun to watch people open this card…and open it, and open it. They are always surprised and also curious about how it works.
To create this card, I used the By My Side Cling Stamps and coordinating dies. I also used the flower stamp from the Fluffiest Friends Cling Stamps. I gathered up some Basic White, Berry Burst, Azure Afternoon and Bubble Bath cardstock and a pack of the Bright & Beautiful DSP. Scraps come in handy as well since we use a lot of small pieces. To color the images, I pulled coordinating Ink pads and Alcohol Markers…Tuxedo Black, Berry Burst, Bubble Bath, Pecan Pie, Crumb Cake, Balmy Blue, Granny Apple Green, Lemon Lime Twist and Daffodil Delight.


I had so much fun creating this card. The base is simple. Once you create and assemble your base, then you just go panel by panel and decorate your card. You can essentially create a 4 page “story” card. Here’s how:
INSTRUCTIONS
BASE: Cut one 6″x6″ piece of cardstock in Azure Afternoon; Cut one 6″x6″ piece of cardstock in Bubble Bath. Score each of them at 1 1/2 and 4 1/2. Fold the score lines in each direction and crease with your bone folder so they are flexible. Then, with the paper still folded, cut them each in half at the 3″ mark.
Lay one set of the base top to bottom like shown below. Add a strong adhesive, like Tear and Tape, to the top edge of each corner and the bottom edge of each corner. Layer the other pieces side to side on the adhesive aligning the corners. This is the base of your card.


Next, you’ll want to start decorating your panels. I used a mix of cardstock and DSP. Here are the measurements you’ll need to know:
Small squares: 1 1/4″x1 1/4″
Large squares: 2 3/4″x2 3/4″ **Basic white
Optional layer for under small squares: 1 3/8″x1 3/8″
Optional layer for under large squares: 2 7/8″x2 7/8″
Rectangles: 1 1/4″x2 3/4″
Optional layer for under rectangles: 1 3/8″x2 7/8″
Optional little card for front panel: Cut DSP at 2 3/4″X5 1/2″, score at 2 3/4
Here is another card I created using the cutest Online Exclusive stamp set…Fluffiest Friends. I paired the stamps with paper from the Earthen Elegance DSP pack and used Vanilla, Moody Mauve and Pretty Peacock cardstock. These chubby little critters are the cutest. They’d be perfect for Valentine’s Day and Easter, too!


Cute, right!?!
I hope you can try this fun folded card out soon. Whoever receives these infinity cards will be so impressed. It’s certainly unique and wildly interactive.
Don’t forget to check out my online store for all your supplies to create these cards. I love to give back to my customers so there’s always a sweet treat in the mail when you order from me, the Wandering Stamper.
Happy Crafting!