

Sometimes you just want to make a useful little gift thing. And if it’s super cute, even better! In a recent card/stamping class, I added one of these as a project and man, were they a hit! The ladies loved making them so much that they asked me to make a video so they could go back and make more. This is a fun way to brighten someone’s day. It’s a great gift for a coworker or teacher…and useful in your own office, car, or home. Make a bunch because they are fun and very useful as well.
Here’s how to make these little sticky note holders.


CUTTING/SCORING
Base (Poppy Parade): 3 1/4″x10 1/2″, scored on 10 1/2″ side at 3 1/4″, 3 5/8″, 4″ and 7 1/2″
Layers: Daffodil Delight 3″x3″ (x2); Basic White 2 3/4″x2 3/4″ (x2); DSP 2 1/2″x2 1/2″
OTHER: Furriest Friends Stamp Set, Sentiment Stamp (I used Hello from SAB Heartfelt Hellos); 1 to 1 1/3 packs of Sticky Note Holders (I used the Highlander Brand from Amazon); Mini Mechanical Pencils (also from Amazon); Embellishments
ASSEMBLY: First you’ll want to fold the base. I started by folding the 7 1/2″ score line up towards me and gluing it down. This part is what your notepad will stick to so you want it to be a bit thicker, which is why it folds to create a double layer. Now you’re left with the first 3 score lines you created. I like to fold the middle score line first. This makes easy to use my scissors to snipe a tab for my pencil to slide through. I make the two slits about 1/2″ apart right around the center of the cardstock. Once your slits are made, unfold the base and then refold the 3 score lines so they create an “M”. then pop your tab out so you now have your pencil holder. Go ahead and adhere the back of your notepad to the inside of the base using a strong adhesive such as Stampin’ Seal+ or Tear & Tape. Pop in your pencil and now you’re ready to decorate.
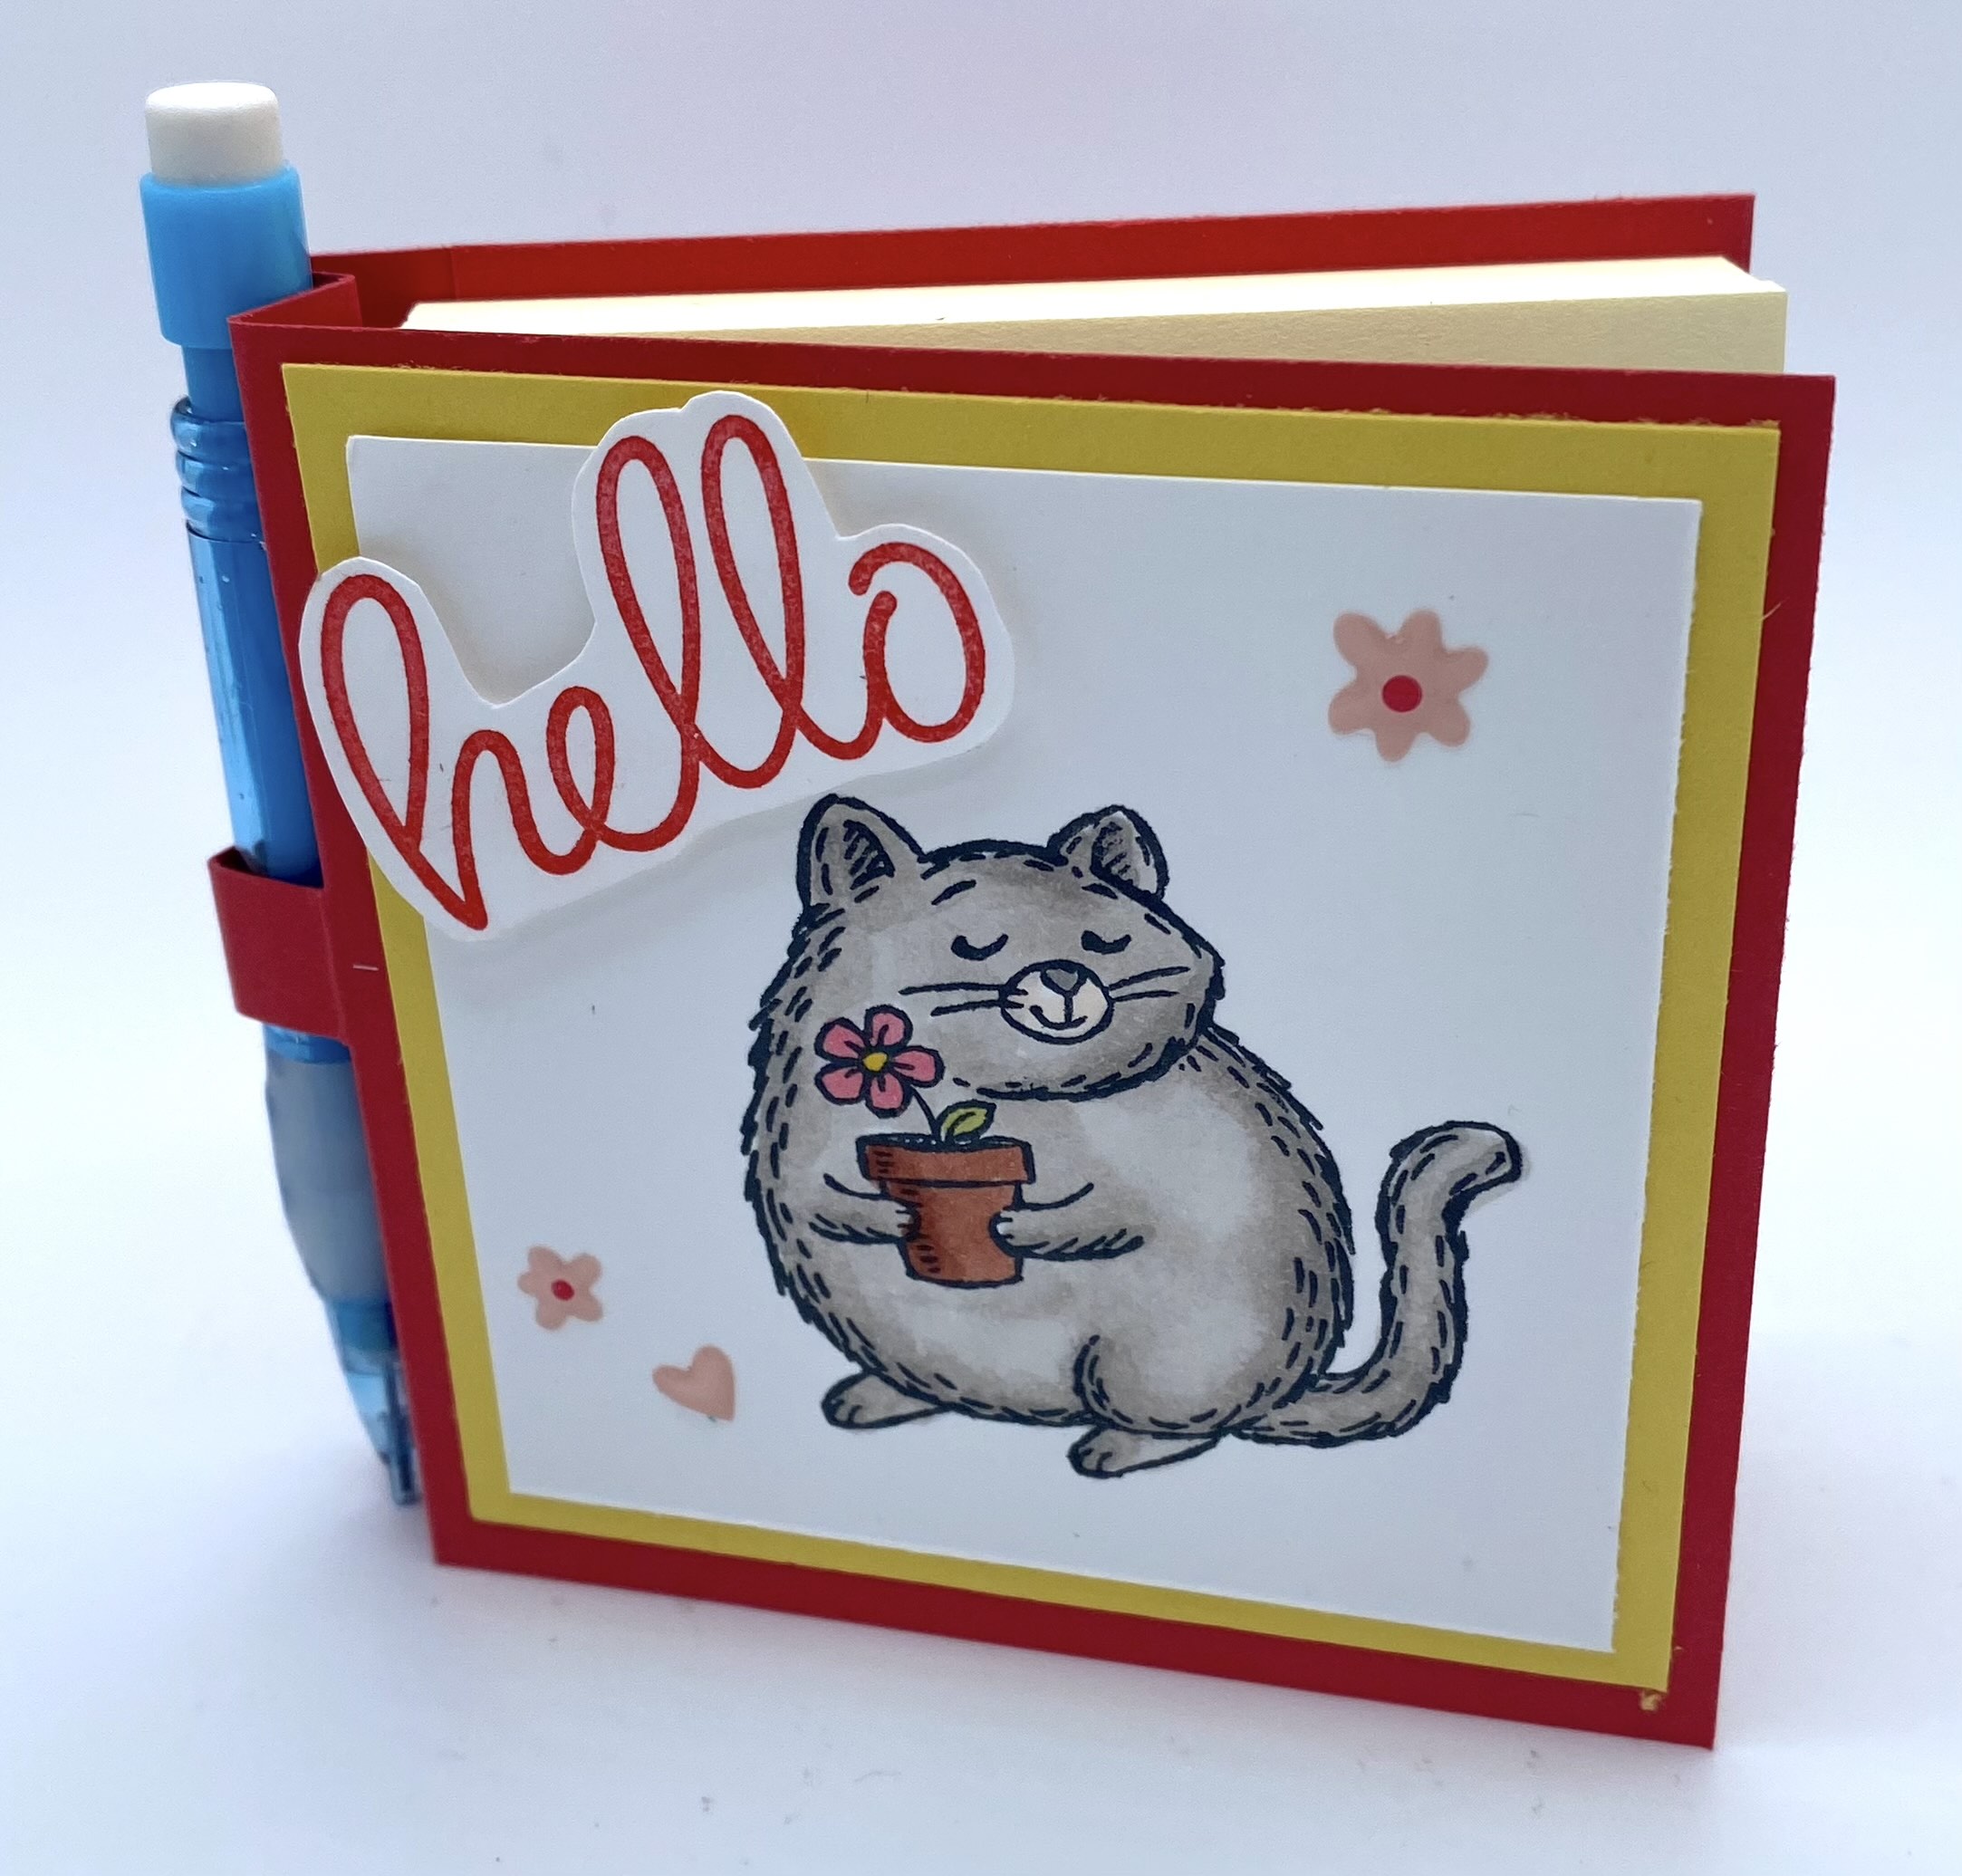
Stamp your Basic White for the front, color it in (I used Alcohol Markers to really make them pro looking!) and glue all your layers together. Then add them to the front of the base. Do the same with the layers for the inside. I used the Hello stamp from last season’s Heartfelt Hellos. I just stamped it in Poppy Parade and used my scissors to cut it out. I adhered it to the front with dimensionals. I added some embellishments from the Adhesive Backed Hearts & Flowers.
Super simple project that you can adapt for any season or any recipient. You can eve use a larger sticky notepad…just make your base bigger.
This is a fun project for kids as well. They can do the decorating and create Mother’s Day, Grandparent’s Day or even teacher gifts. These would make fun Valentines as well. What would you make them for???
Happy Crafting!