
Don’t you love a stamp set that has all the vibes of a quiet, winter afternoon? The brand new Winter Owls Bundle and Winter Meadow Designer Series Paper make this card so special. A few simple cuts and scores and some coordinating embellishments give you a pretty card perfect for all your loved ones this coming holiday season. Pair it with some standard sentiments and you can use it all year long! The dies that coordinate with this set make the stamps very versatile. I also used the brand new Deckled Circles dies…the die set comes in a ton of sizes so you will get so much use out of it. I can’t wait to share some other designs I have in the works so stay tuned!

Here’s all you need to know to create this special card.
INSTRUCTIONS:
BASE: cut Misty Moonlight at 4 1/4″x11″; score at 5 1/2″; then cut away2 1/8″ up to the score line so you essentially cut your card front in half. Fold and burnish.
INSIDE LAYER: cut Basic White cardstock 4 1/8″x5 3/8″; adhere to the inside of the card. Stamp your sentiment on the bottom right.
DSP PANELS FOR INSIDE LAYER: cut Misty Moonlight 1 5/8″x 2 1/2″ (x3); cut Designer Series Paper 2 3/8″x4 1/2″ and then on the 4 1/2″ side, cut into 3 equal 1 1/2″ pieces. Layer DSP on cardstock pieces. Adhere the left and right pieces first and then center the middle piece. This makes it easier to align all 3 pieces evenly.
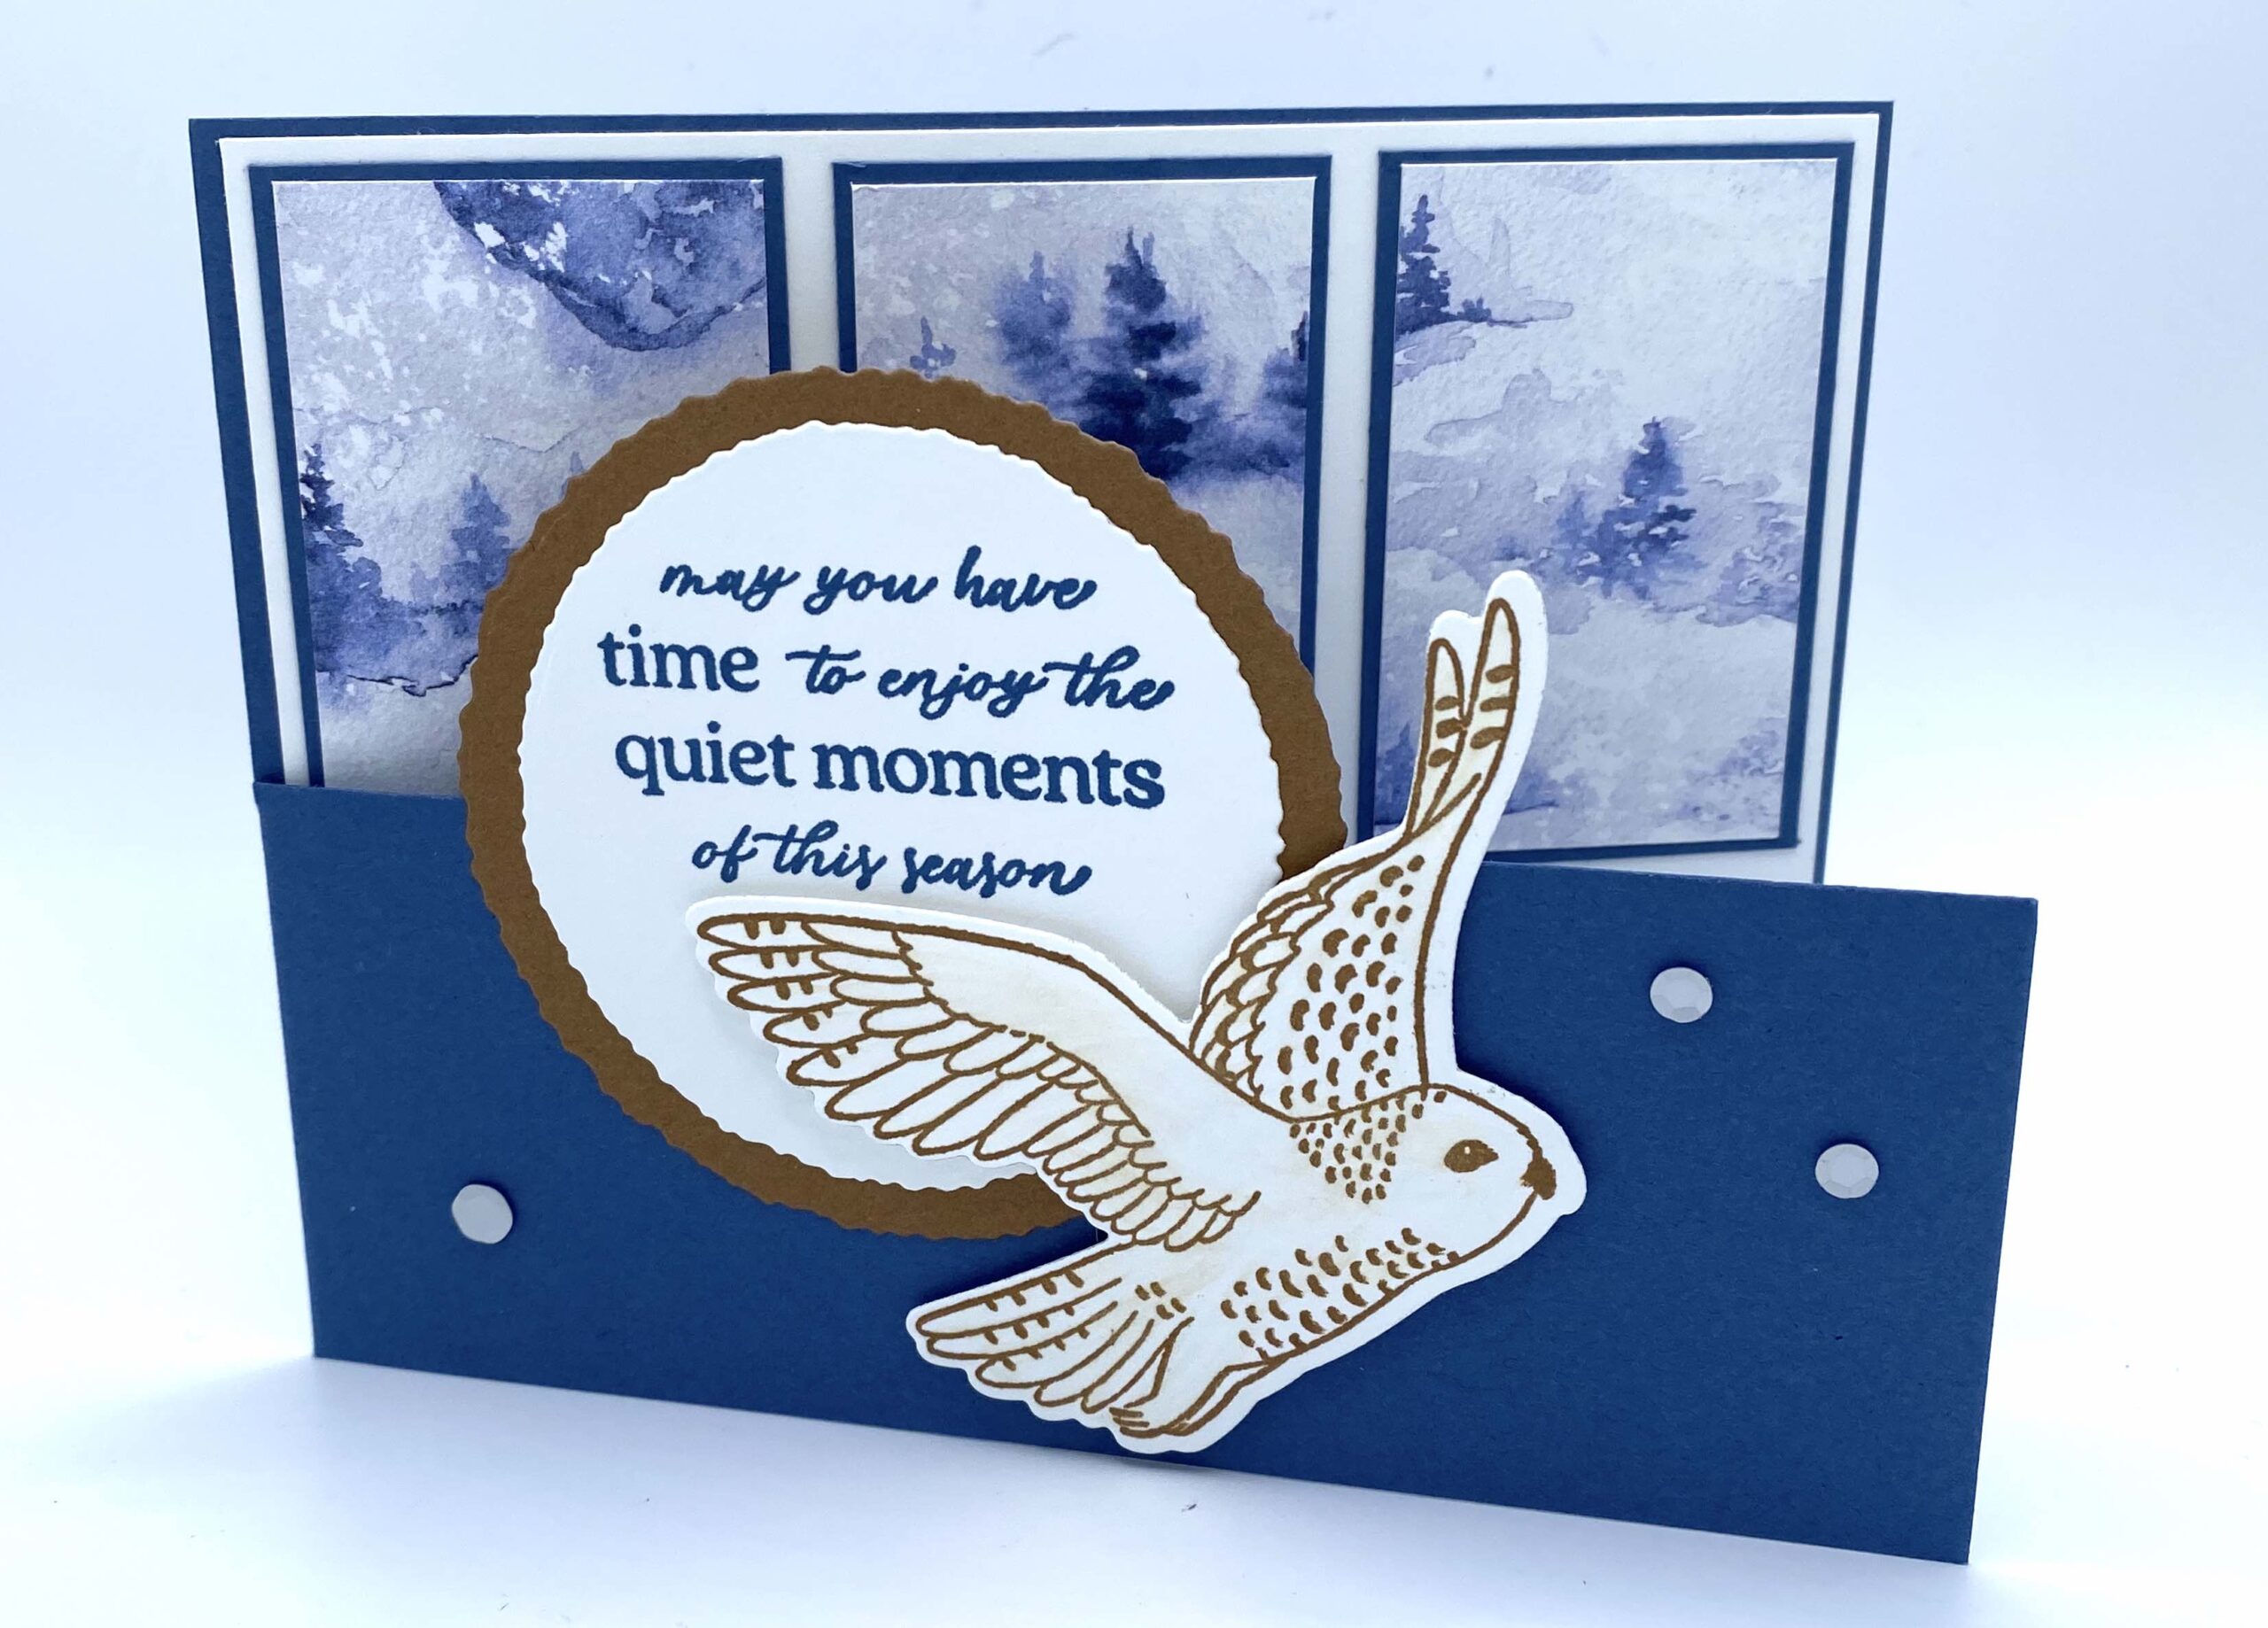
CARD FRONT: using the Deckled Circles, cut a larger circle in Pecan Pie (or Misty Moonlight) and a smaller circle in Basic White. Stamp the owl of your choice in Pecan Pie on a scrap of Basic White cardstock. Die cut your owl. Stamp your message on the front of the white circle. Glue you two circles together. Lay your circles with your owl on the card front to determine where you want it to fall. Then mark the back of your circle so you know where to apply adhesive. Adhere the circle set to the front of the card. Add the owl with some dimensional to give it some elevation.

To finish up, add some embellishments such as the Neutrals Adhesive Backed Sequins and color the owl in lightly with some Clear Wink of Stella for a little extra shimmer. Who doesn’t love shimmer!!
This card layout is perfect for any DSP that is printed with a scene. It will also look great with a scene you stamp on cardstock and then cut and layer. There’s so many variations you can do!
I hope you enjoy this simple design! Don’t forget to check out my online store for all your Stampin’ Up products. Stay tuned for more upcoming tutorials with all the new products from the mini catalog!